

This month's theme for the Let's Get Hopping Blog Hop is "For The Kids." Whether you hopped over from Teresa Brown's blog, or you are starting here, Welcome to the hop! Kids love to get "Happy Mail," and I know you are going to be inspired by some gorgeous projects!
I chose to make an interactive card using the Special Day Stamp set and coordinating Special Day dies. The dies are part of the Coordination Product Release promotion and are only available until March 31st, 2020 OR as long as supplies last.

It is a "Slider Card," and I wanted it to look like the balloons were carrying the raccoon up and away. To create the background, I sponged Pool Party ink onto a piece of Whisper White Cardstock. Then I used the cloud stencil from the Pattern Party Decorative Masks and sponged Whisper White Craft Ink to make the clouds. I also sponged my "grass" with Granny Apple Green ink to give it more dimension.

I love the sentiments in this set. It is a great set for Thank you, Birthday, and Get Well cards. I made this card for a little boy in our community that has been diagnosed with cancer. I hope when he reads "This balloon is special...it's filled with heal-ium" it brings a smile to his face. You could change the sentiments and make this a card for any occasion.
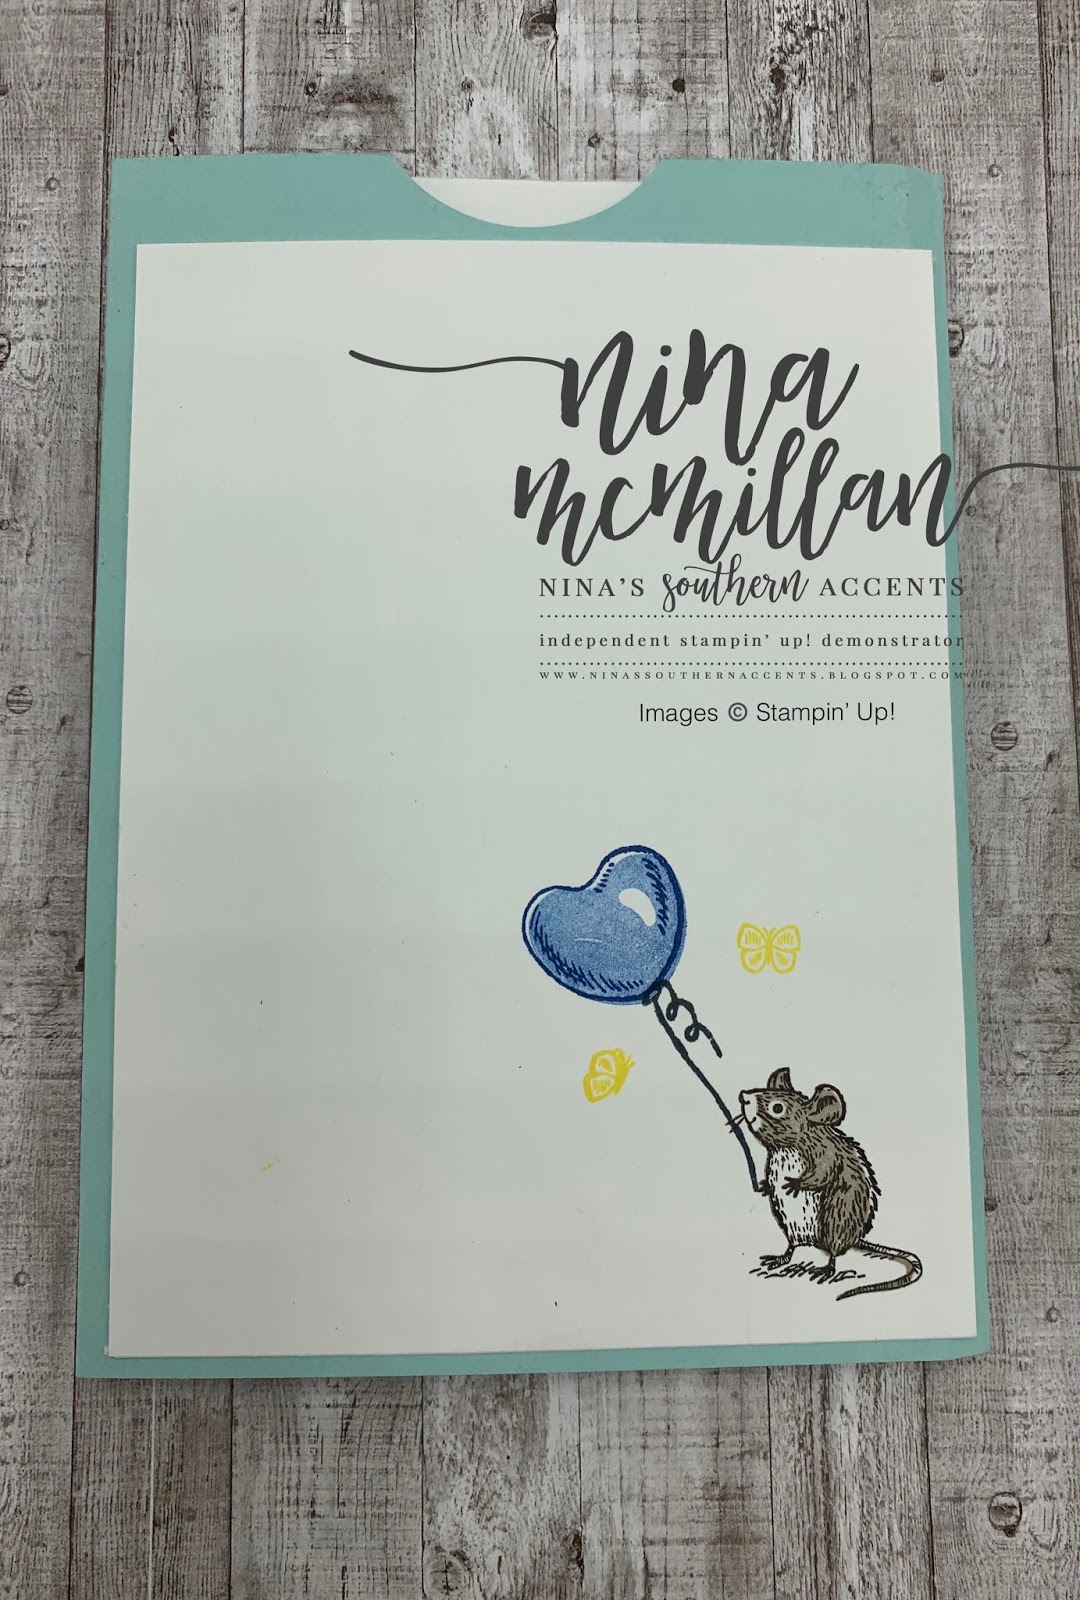
Since there wasn't alot of room on the inside piece to write a message, I added a piece of Whisper White to the back of the card. The images in this set are so stinkin' cute!


It is a "two-step" stamp meaning there are two stamps for the images. The colors used for the balloons are three of our 2018-2020 In Colors that are retiring soon-Lovely Lipstick, Pineapple Punch, and Blueberry Bushel. I stamped the solid image first, then the outline image. The solid image is lighter because it is second generation stamping, or "stamping off." To achieve this look, ink up your stamp, then stamp it onto a scrap piece of paper (that's stamping off), then stamp it onto your card stock. Then I stamped the outline image full strength.
I love the realistic look of these animals! For those of you who don't like to color, this is perfect for you! Here are the color combos I used for each one.
Raccoon: Solid image-Smoky Slate, Detail image-Memento Tuxedo Black
Squirrel: Solid image- Crumb Cake, Detail image-Early Espresso
Mouse: Solid image- Gray Granite, Detail image-Early Espresso
Since this is a photopolymer stamp set, it is pretty easy to line up the stamps. However, the Stamparatus is your friend when it comes to these type of stamps. I stamped that little mouse 4 times before it dawned on me--USE THE STAMPARATUS SILLY!
I used the Granny Apple Green Stampin' Blends to color the grass on the images to blend in with the background.
Now I know you are wondering how to create the slider mechanism...I'm so glad you asked! I made a quick video to show you how to put the card together.

Card Measurements:
Card Base: 5-1/2 x 8-1/2, Score on 8-1/2 side at 4" and 8"
Front Panel (and back panel if you choose to add one): 5-1/4 x 3-3/4
Inside Panel:
I hope you enjoyed this project, now you get to hop over to one of my favorite "Aussies," Tracy Bish! You are going to love what she has in store!

If you would like to purchase any of the products I used, simply click on the links below to go to my online store. Thanks for stopping by!
Love,
Nina


