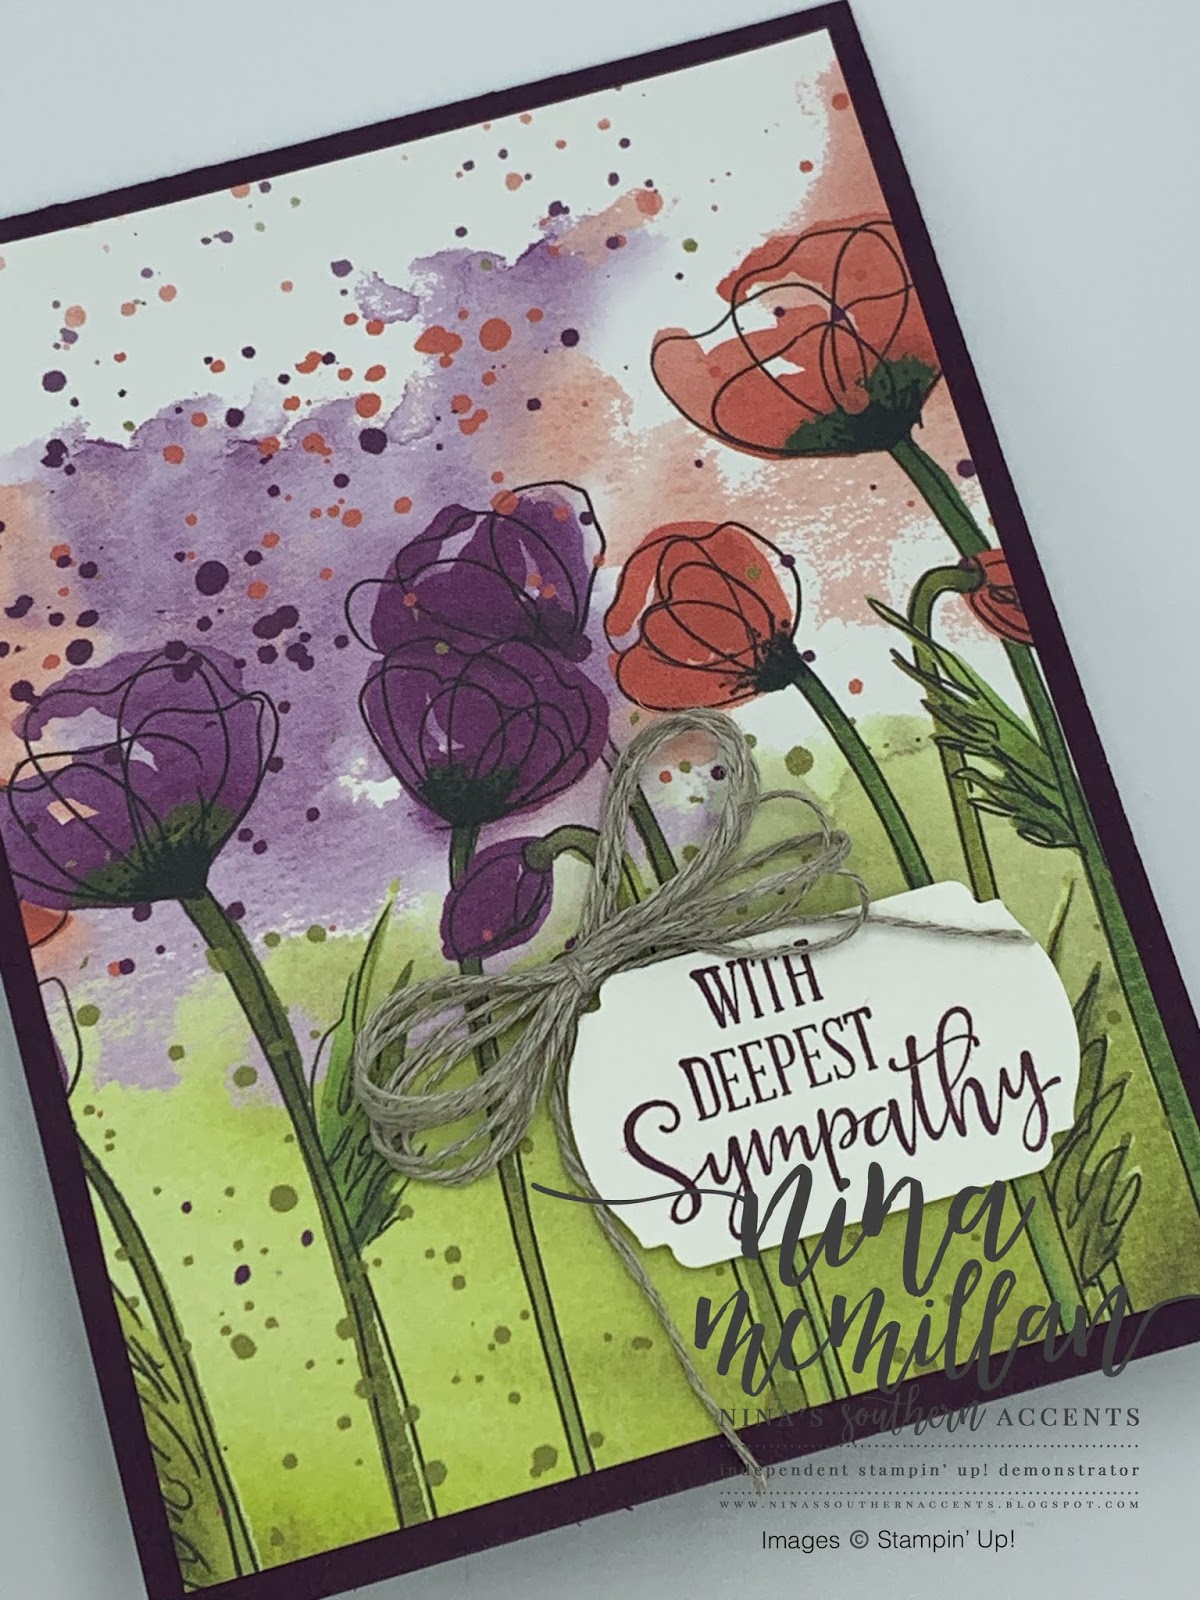
Hey Y’all,
Today the Let's Get Hopping Team have some awesome ideas for you to use up the Designer Series Paper (DSP) we all have in our stash. You know, the stuff we buy because it's so beautiful, but then we don't want to cut into it because it is so beautiful? Well, we are here to help! You may be arriving here from the lovely Tanya Rees, or if you are just starting with me, Welcome! Make sure to hop all the way through so you get lots of ideas to use that stash. I mean, we need a good excuse to buy more, right?
My project today uses my absolute favorite DSP from last year's Annual Catalog. In fact, I had a brand new, unopened pack. Do you know how hard it was to open up that package? I feel your struggle my friend.
I chose to make a set of cards and matching gift bag. The bag is a plain old paper lunch sack I covered with the DSP. I got the idea from fellow demonstrator Ronda Wade and a project she had made several months ago.
Isn't that DSP gorgeous? I also pulled out some retired matching ribbon. I mean, if we are de-stashing, let's be all in, right?
This project would make a great gift for someone. I used the images and sentiments from the Botanical Bliss stamp set. They are heat embossed onto Very Vanilla Cardstock in gold, then die cut with the Stitched Shapes dies. I also made one card using just a square of paper so you can see all of the extra die cutting machines and dies aren't absolutely necessary to make beautiful projects.
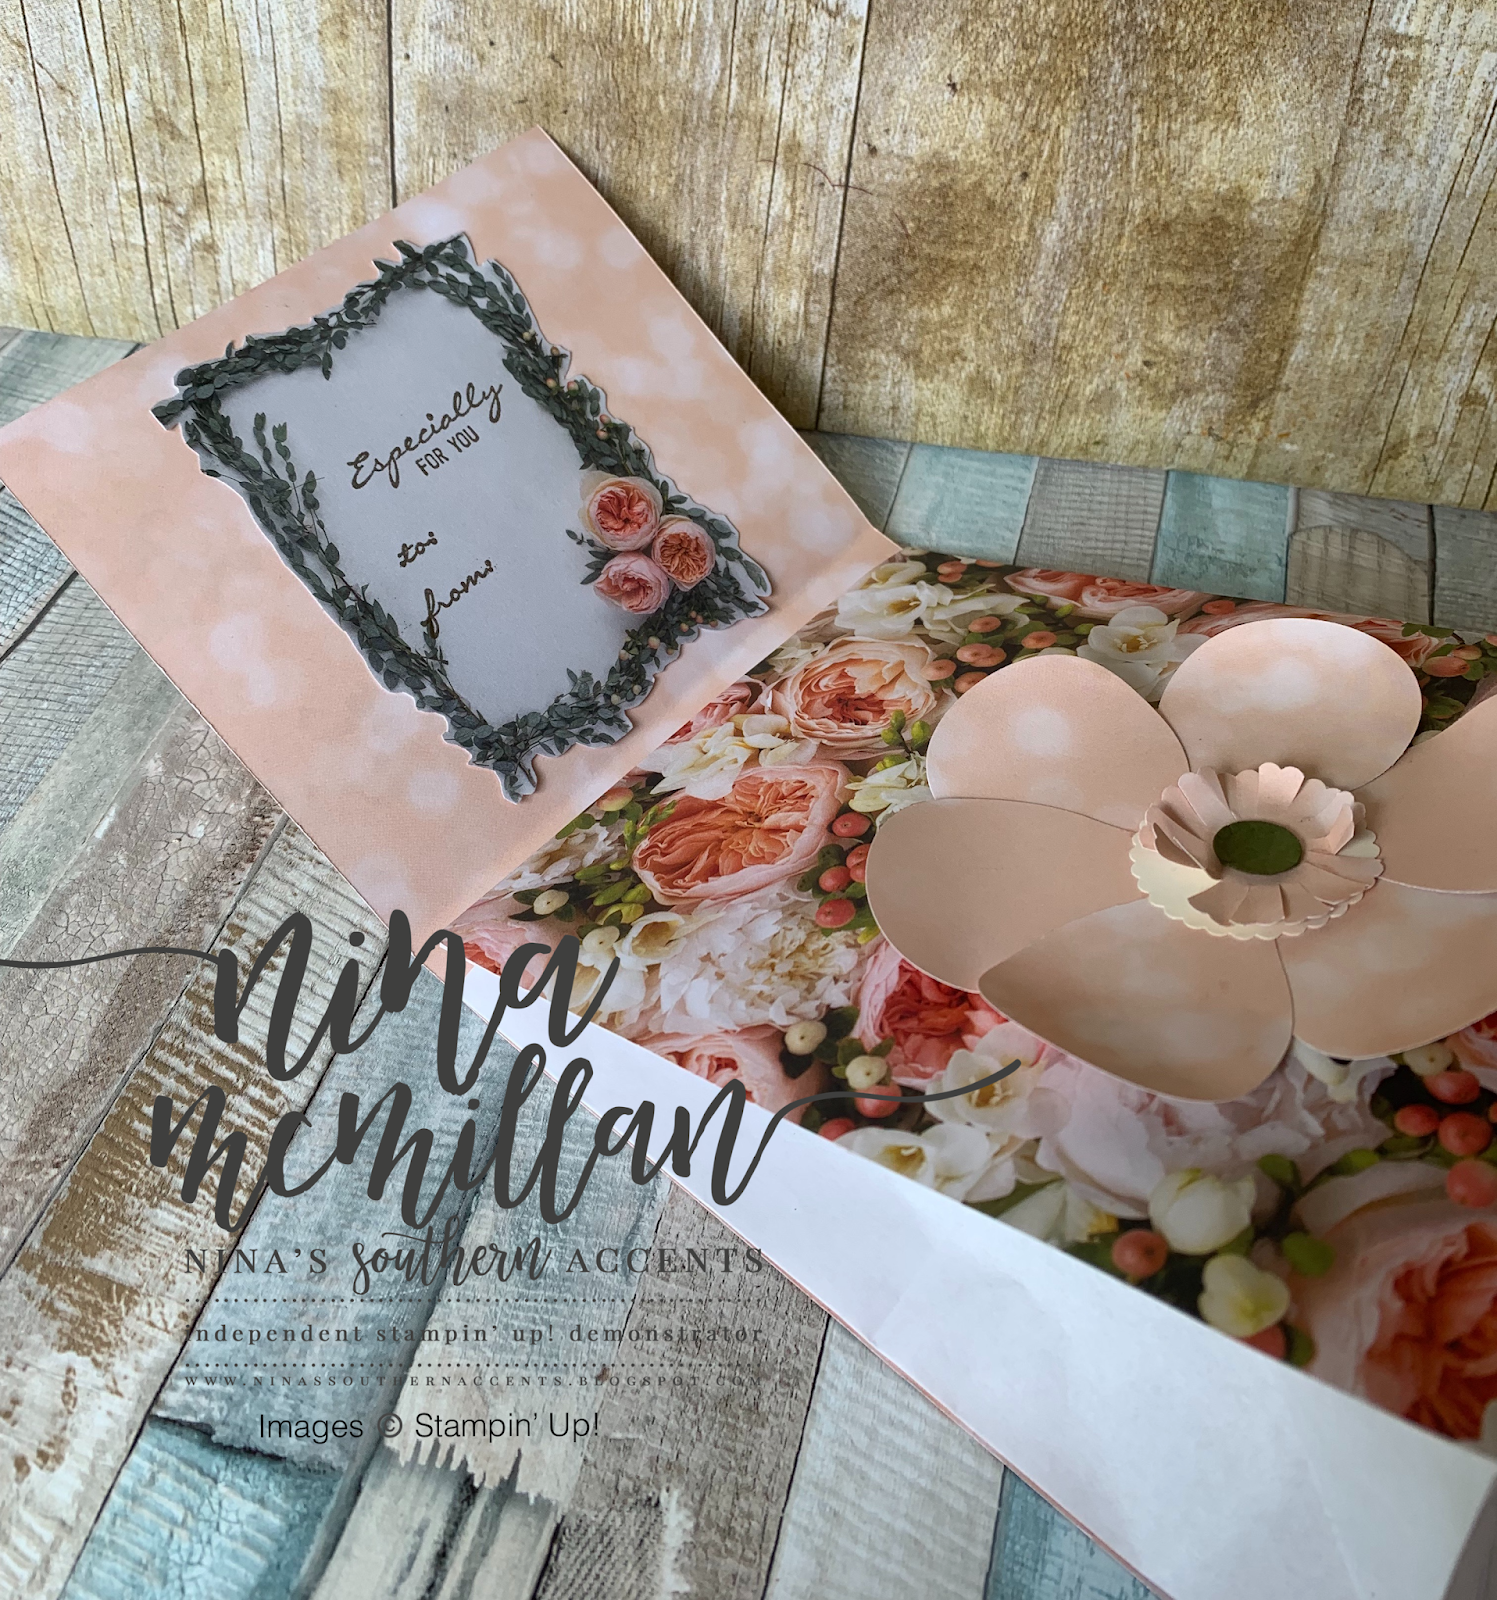
The flower on the front of the bag is made from the Hot Air Balloon Punch and the 1-3/8" Scalloped Circle Punch. The petals show the reverse side of the DSP. Punch a Very Vanilla circle to adhere the petals, then punch another circle from the DSP. The ruffled centers were made by cutting towards the center about 1/8-1/4" every 2 scallops. The center of the flower is a 1/2" circle of Mossy Meadow. The flower is the closure mechanism for the bag.
This paper also had a sheet of beautiful frames.
I fussy cut one to make a tag for the inside flap.
You can see there is lots of room for goodies! You could decorate the bag and put lots of things other than cards.
Here are individual pictures of the cards, with the matching envelopes!
This is the card with just the 2x2 square, no die cutting involved. I added a leftover strip of the DSP as well.
This project used 2 12x12 sheets of DSP, plus the extra tag from another sheet. I made this entire project in about 2-1/2 to 3 hours. Now that included designing, picking out what stamp set to use, double checking measurements for the bag, etc. It is so simple but makes a lovely presentation.
Next up is my friend, the amazing Tracy Bish. I know you are going to love what she has in store.
Measurements and other details:
- Paper Sack-I used the paper lunch sacks you purchase at the grocery store. The measurements will vary depending on what you use. I cut the height of the bag down to 7 inches. The width of my bag was 5-1/2 inches, so that was the width of my paper.
- Measurements for DSP to cover bag: Back piece 5-1/2 x 12, front piece 5-1/2 x 7 (this depends on the height you want your bag to be and how much of a flap you want to fold over.) Adhere to bag with liquid glue.
- Card measurements: Card Bases: Thick Very Vanilla 5-1/2 x 8-1/2 scored at 4-1/4, Mossy Meadow layer 5-1/4 x 4, DSP layer 3-3/4 x 5 ***If you choose a white or vanilla card base, use the thick, it really makes a difference.
- To cover the envelope flaps, adhere a 2-1/4 x 6 piece of DSP (or whatever size will fit) with liquid glue, then cut off excess
- Only attach the bottom 1/2 of the flower so the flap can tuck under the top 1/2.
I'm so glad you joined us today! If you are interested in purchasing any of the items I used (except the retired stuff,) click on the links below to go to my online store. Remember to use the current host code found to the right so that you get loyalty rewards (click on tab above to see details.) Hit that subscribe button so you don't miss any future inspiration. Thanks for stopping by!
Love,
Nina

Petal Promenade Designer Series Paper
[146913]
$11.00

Calypso Coral 3/8" (1 Cm) Satin Ribbon
[148804]
$6.00