Hey Y'all!
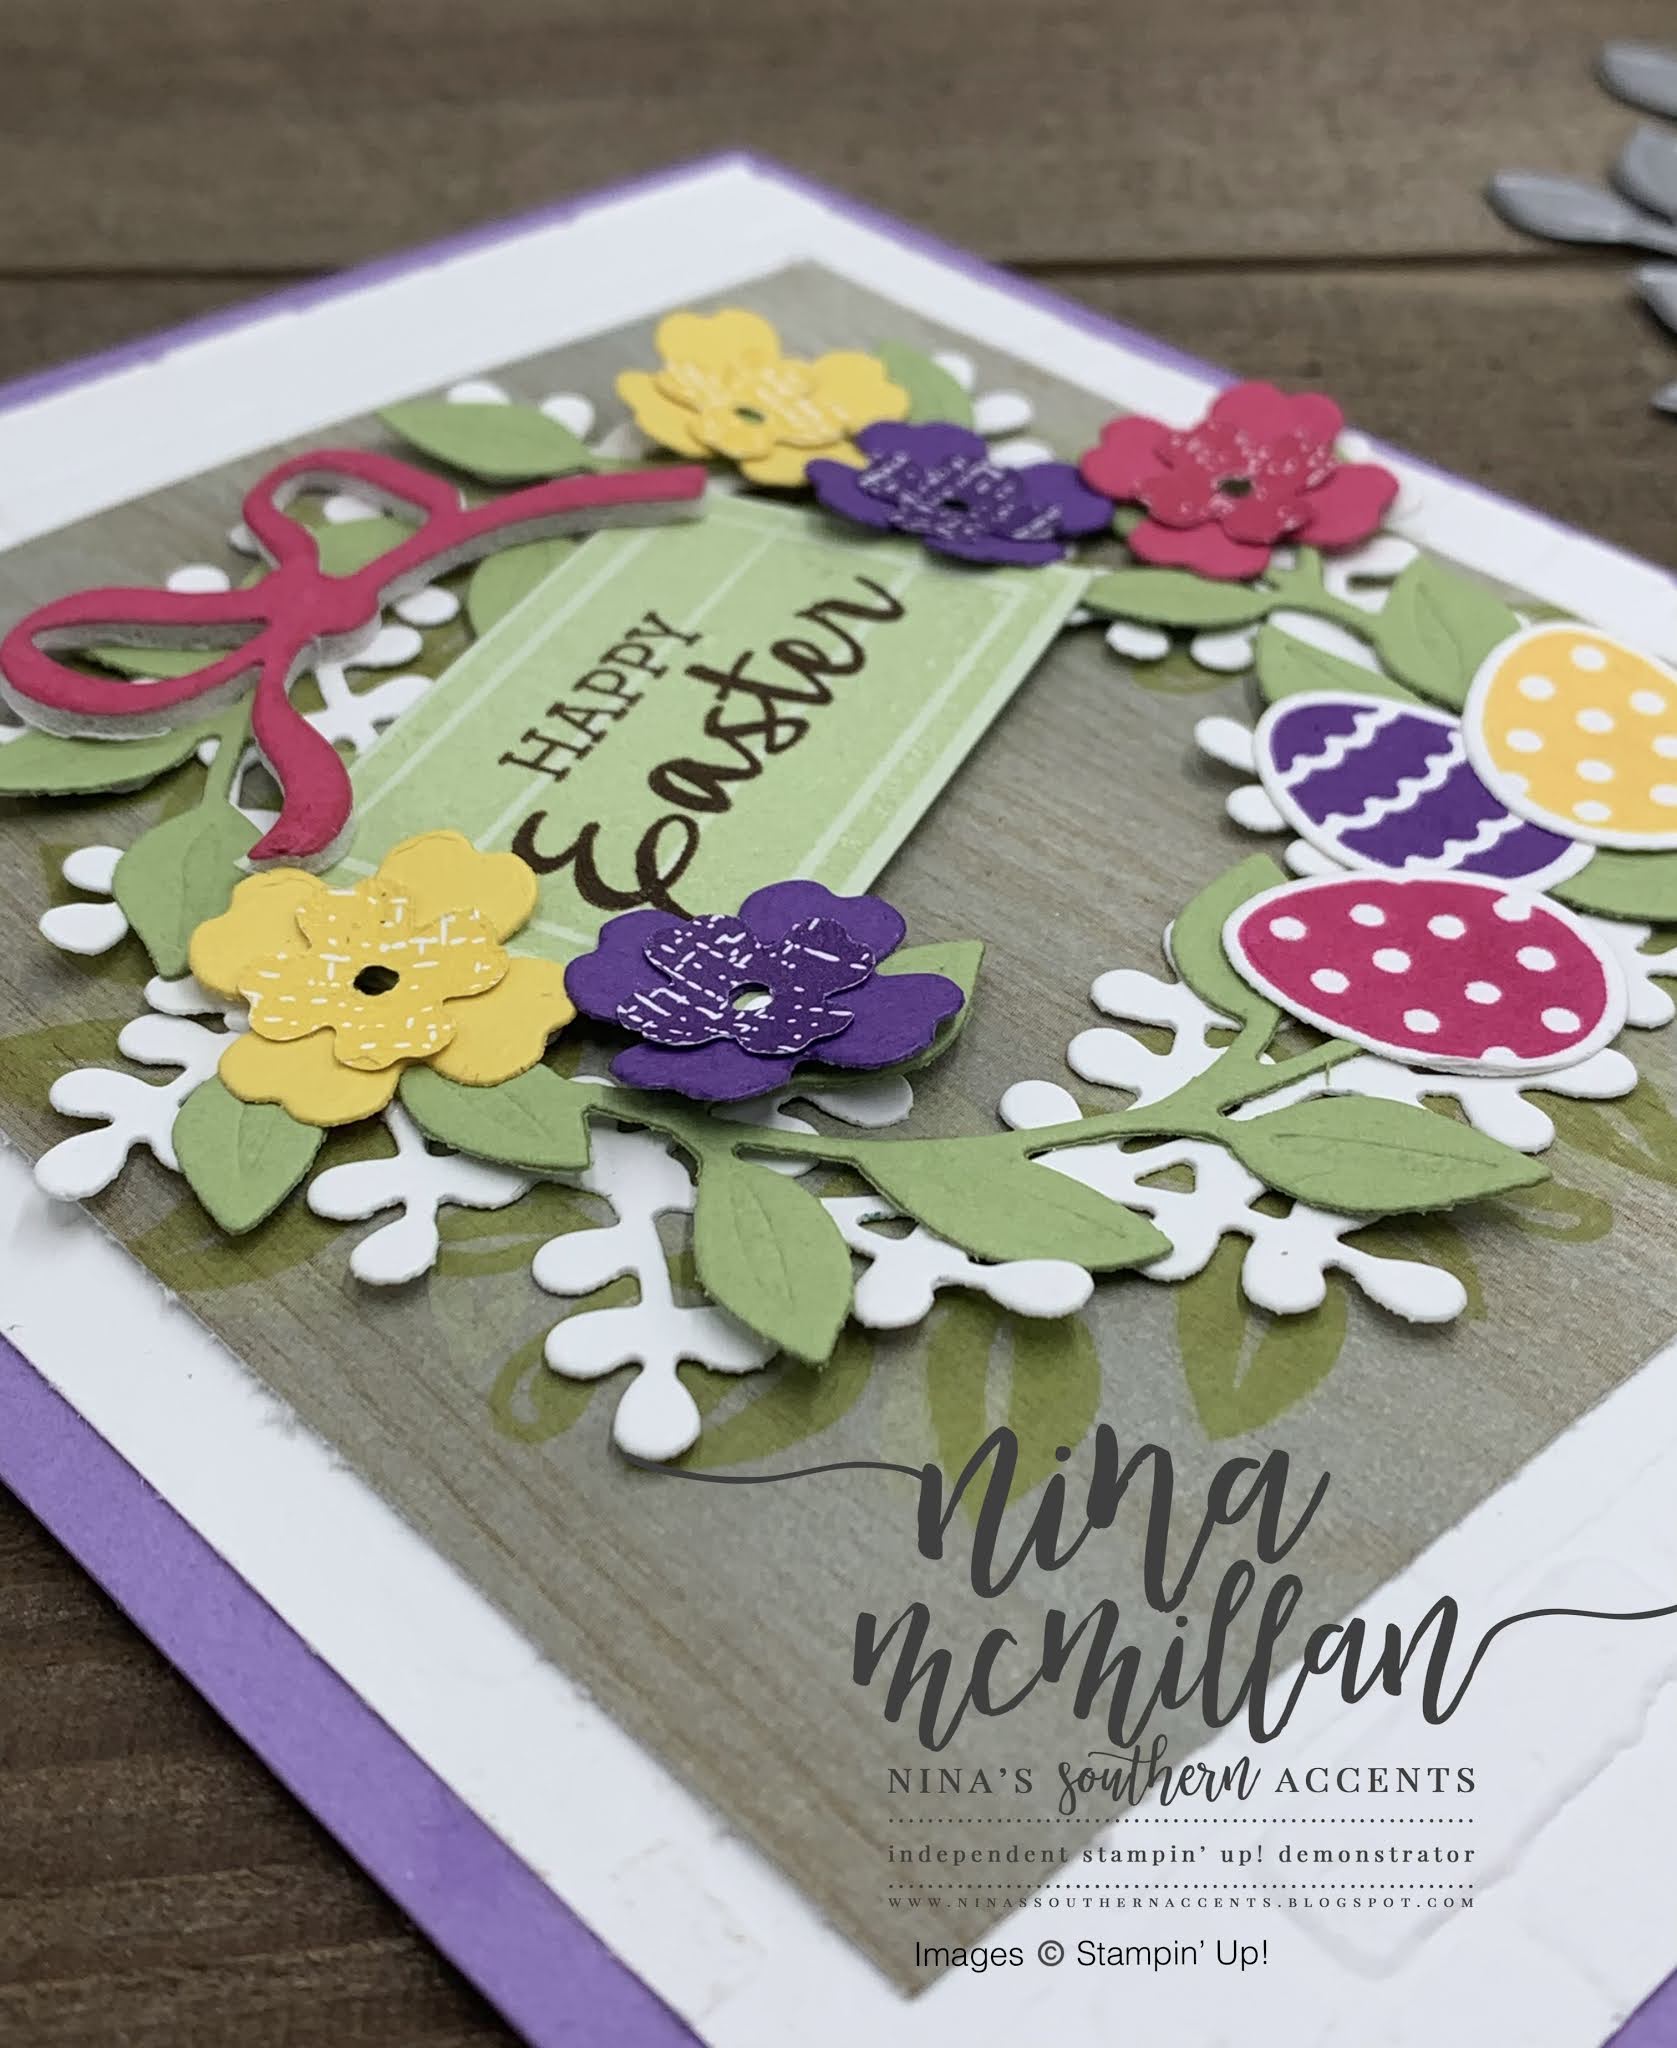
This month the Let's Get Hopping crew is sharing projects with floral images. I haven't been able to spend a lot of time in my craft room, my mom had surgery this week and I have been staying with her at the hospital, so I needed a fairly quick project.

I chose the Wild Roses background stamp and paired it with sentiments from Pretty Perennials.

I applied the ink to the background stamp using sponge brayers, then used Stampin' Write Markers to ink up the "happy" stamp. The Stamparatus is what gave me success with these techniques.

I added a bow and added some of the images from Pretty Perennials to the inside.

Measurements and Steps to make this card:
- Bermuda Bay cardbase 8-1/2 x 5-1/2, scored at 4-1/4, Basic Black layer 4 x 5-1/4, Basic White layer 3-3/4 x 5 for the background image and 4 x 5-1/4 for the inside, Basic White for "Happy" and Basic Black for "happy" background and "you make me."
- Place the Wild Roses background stamp in the Stamparatus and line up with Basic White cardstock. ***Tip: place a small amount of Stamp and Seal adhesive on the back of your cardstock to keep it from moving.
- Use sponge brayers to apply the ink to the stamp, and stamp onto Basic White. Reapply ink and re-stamp as needed.
- Place "Happy" stamp in Stamparatus and line up with Basic White cardstock.
- Use the brush tip of the Stampin' Write markers to apply ink to stamp. **only use the side of the brush, using the pointed tip with mess it up. If the colors mix with the markers, simply "scribble" the side of the marker onto a scrap piece of paper to remove ink.
- Fussy cut around the image and adhere it onto a piece of Basic Black, then fussy cut around that to make an outline.
- Heat emboss "you make me" with White embossing powder onto a piece of Basic Black and trim close around the words.
- Adhere the Wild Roses background onto the Basic Black layer.
- Wrap ribbon around and tie a bow.
- Adhere this to the Bermuda Bay layer.
- Figure out your placement of the sentiments, then adhere the "happy" sentiment with dimensionals, and adhere the other sentiment directly onto Wild Roses background.
- Stamp images from Pretty Perennials onto inside layer and adhere to inside of the card.
Now it's time to hop over to my friend Tanya Rees and see what she is sharing!

If you would like to order any of the products I've used, just click on the links below to go to my online store. Be sure you are subscribed to my blog so you don't miss any of the fun! You can also find me on social media-Facebook and Instagram-under Nina's Southern Accents. I love to share creative ideas with my friends. Thanks for stopping by!
Love,
Nina