

Who doesn't love free stuff! And there are so many pretties to choose from! Click here to start shopping!
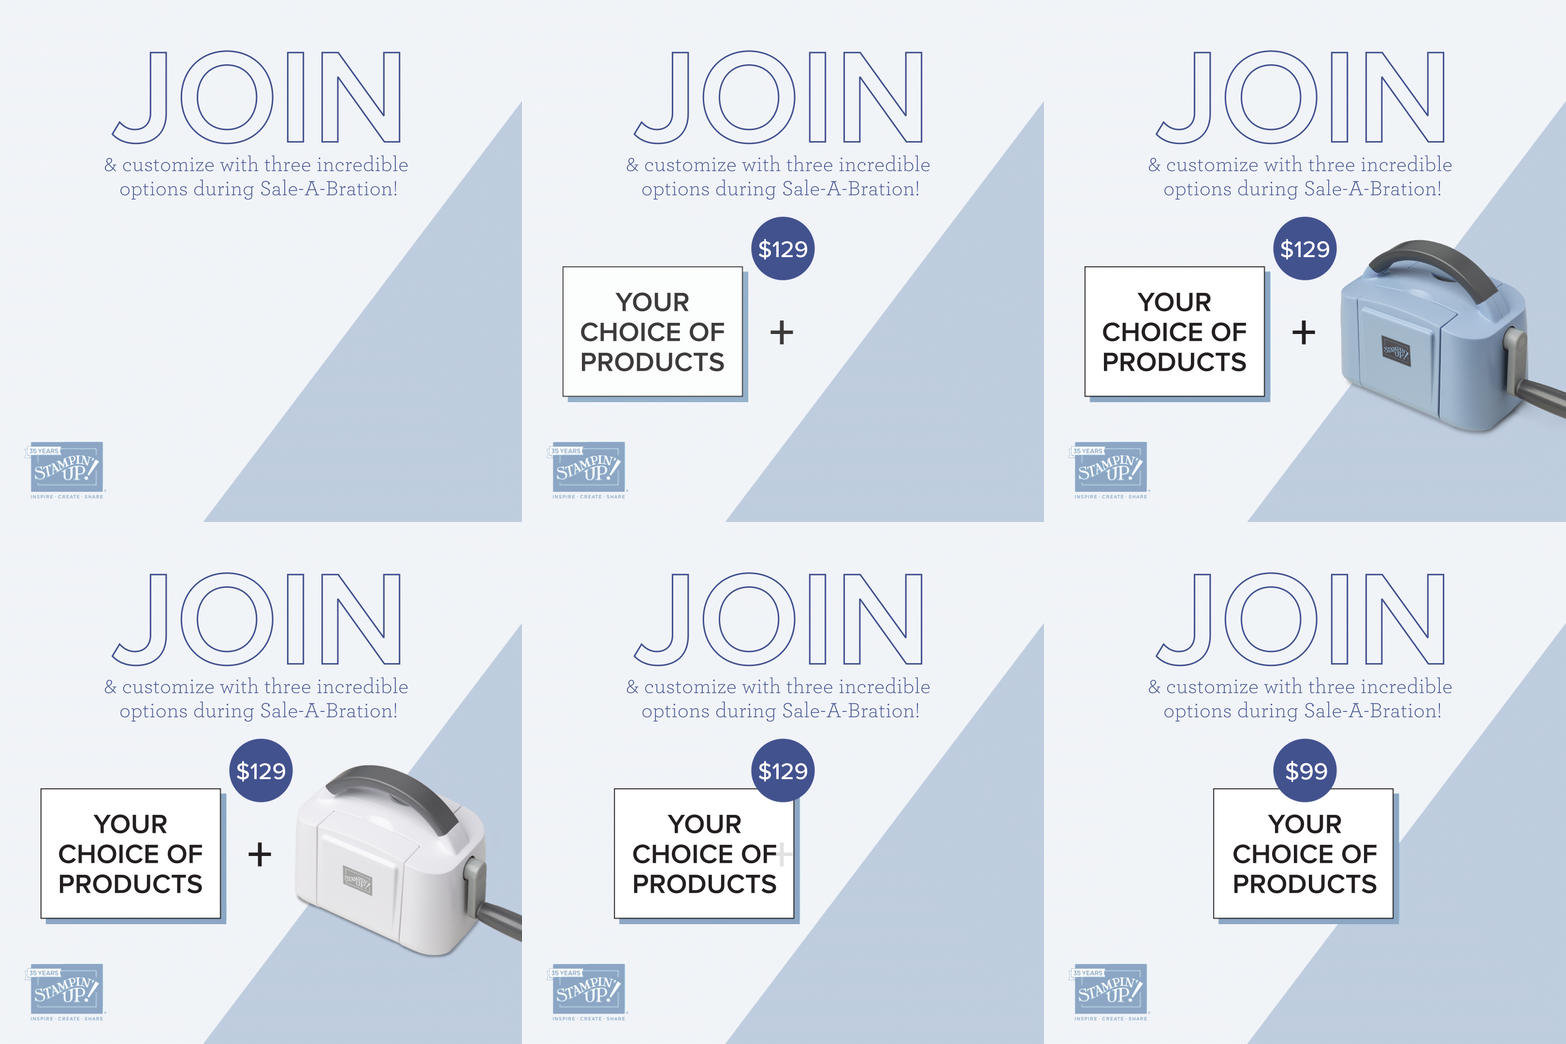
It's a great time to join my team-the Southern Accents Stampin' Squad, SASS for short. Click "Join the Fun" at the top for more information!
Hey Y'all!
Welcome to 2023! How's it going so far? My life? Still chaotic, but I don't think I would have it any other way! That means I have family and friends to love and do life with!
I am starting a blog series-Saleabration Saturday-every Saturday in January and February. This first one I am featuring the Favored Flowers DSP.

If you like easy card making, one way is letting gorgeous DSP do the heavy lifting-and this paper is a heavy weight champion! I've tried to showcase it's beauty in these projects...

...and here is the first one. This is called a SIP card-stamps, ink, and paper only.

It is somewhat of a Fancy Fold, and it's so neat because it shows off both sides of the paper. To create this card, you need a Petal Pink cardbase 8-1/2 x 6-1/2, scored at 5-1/2. This leaves a 1" flap for the front of the card. Adhere a 4 x 5-1/4 panel of DSP to the inside of the flap, then a 3/4 x 5-1/4 strip to the outside of the flap. Add a Basic White panel measuring 3-3/4 x 5 to the inside, and adhere a 3/4 x 3-3/4 strip of DSP to the bottom.

My sentiment came from the Lovely & Lasting stamp set, I stamped the "hello" sentiment onto a strip of Basic White and angled each end, then popped it up with dimensionals. One of the main rules in card making is NO NAKED ENVELOPES! One of my favorite ways to jazz up and envelope is add DSP to the flap. Just adhere a 2-1/4 x 6 piece to the flap, then trim around the edges.
Product List


This next card is stepped up a little with some ribbon, a punch, and the beautiful new Pastel Adhesive-Backed Sequins. (By the way, be sure to scroll down and check out my paper, ribbon, and embellishment shares to get samples of all the new pretties in the new January-April Mini Catalog.) I started with a 4 x 5-1/2 piece of DSP, and tore it in 1/2 about 1/3 of the way down. I wrapped some Pale Papaya Open Weave ribbon around the largest panel and tied a bow, then adhered both pieces to a Mossy Meadow cardbase (8-1/2 x 5-12, scored at 4-1/4.) I punched aVery Vanilla label with the Label Me Lovely punch, stamped my sentiment from the Color and Contour stamp set, then added the flourish embellishment from the Decorative Border stamp, another new set in the new Mini. Add 3 gold sequins, and the front of your card is done!
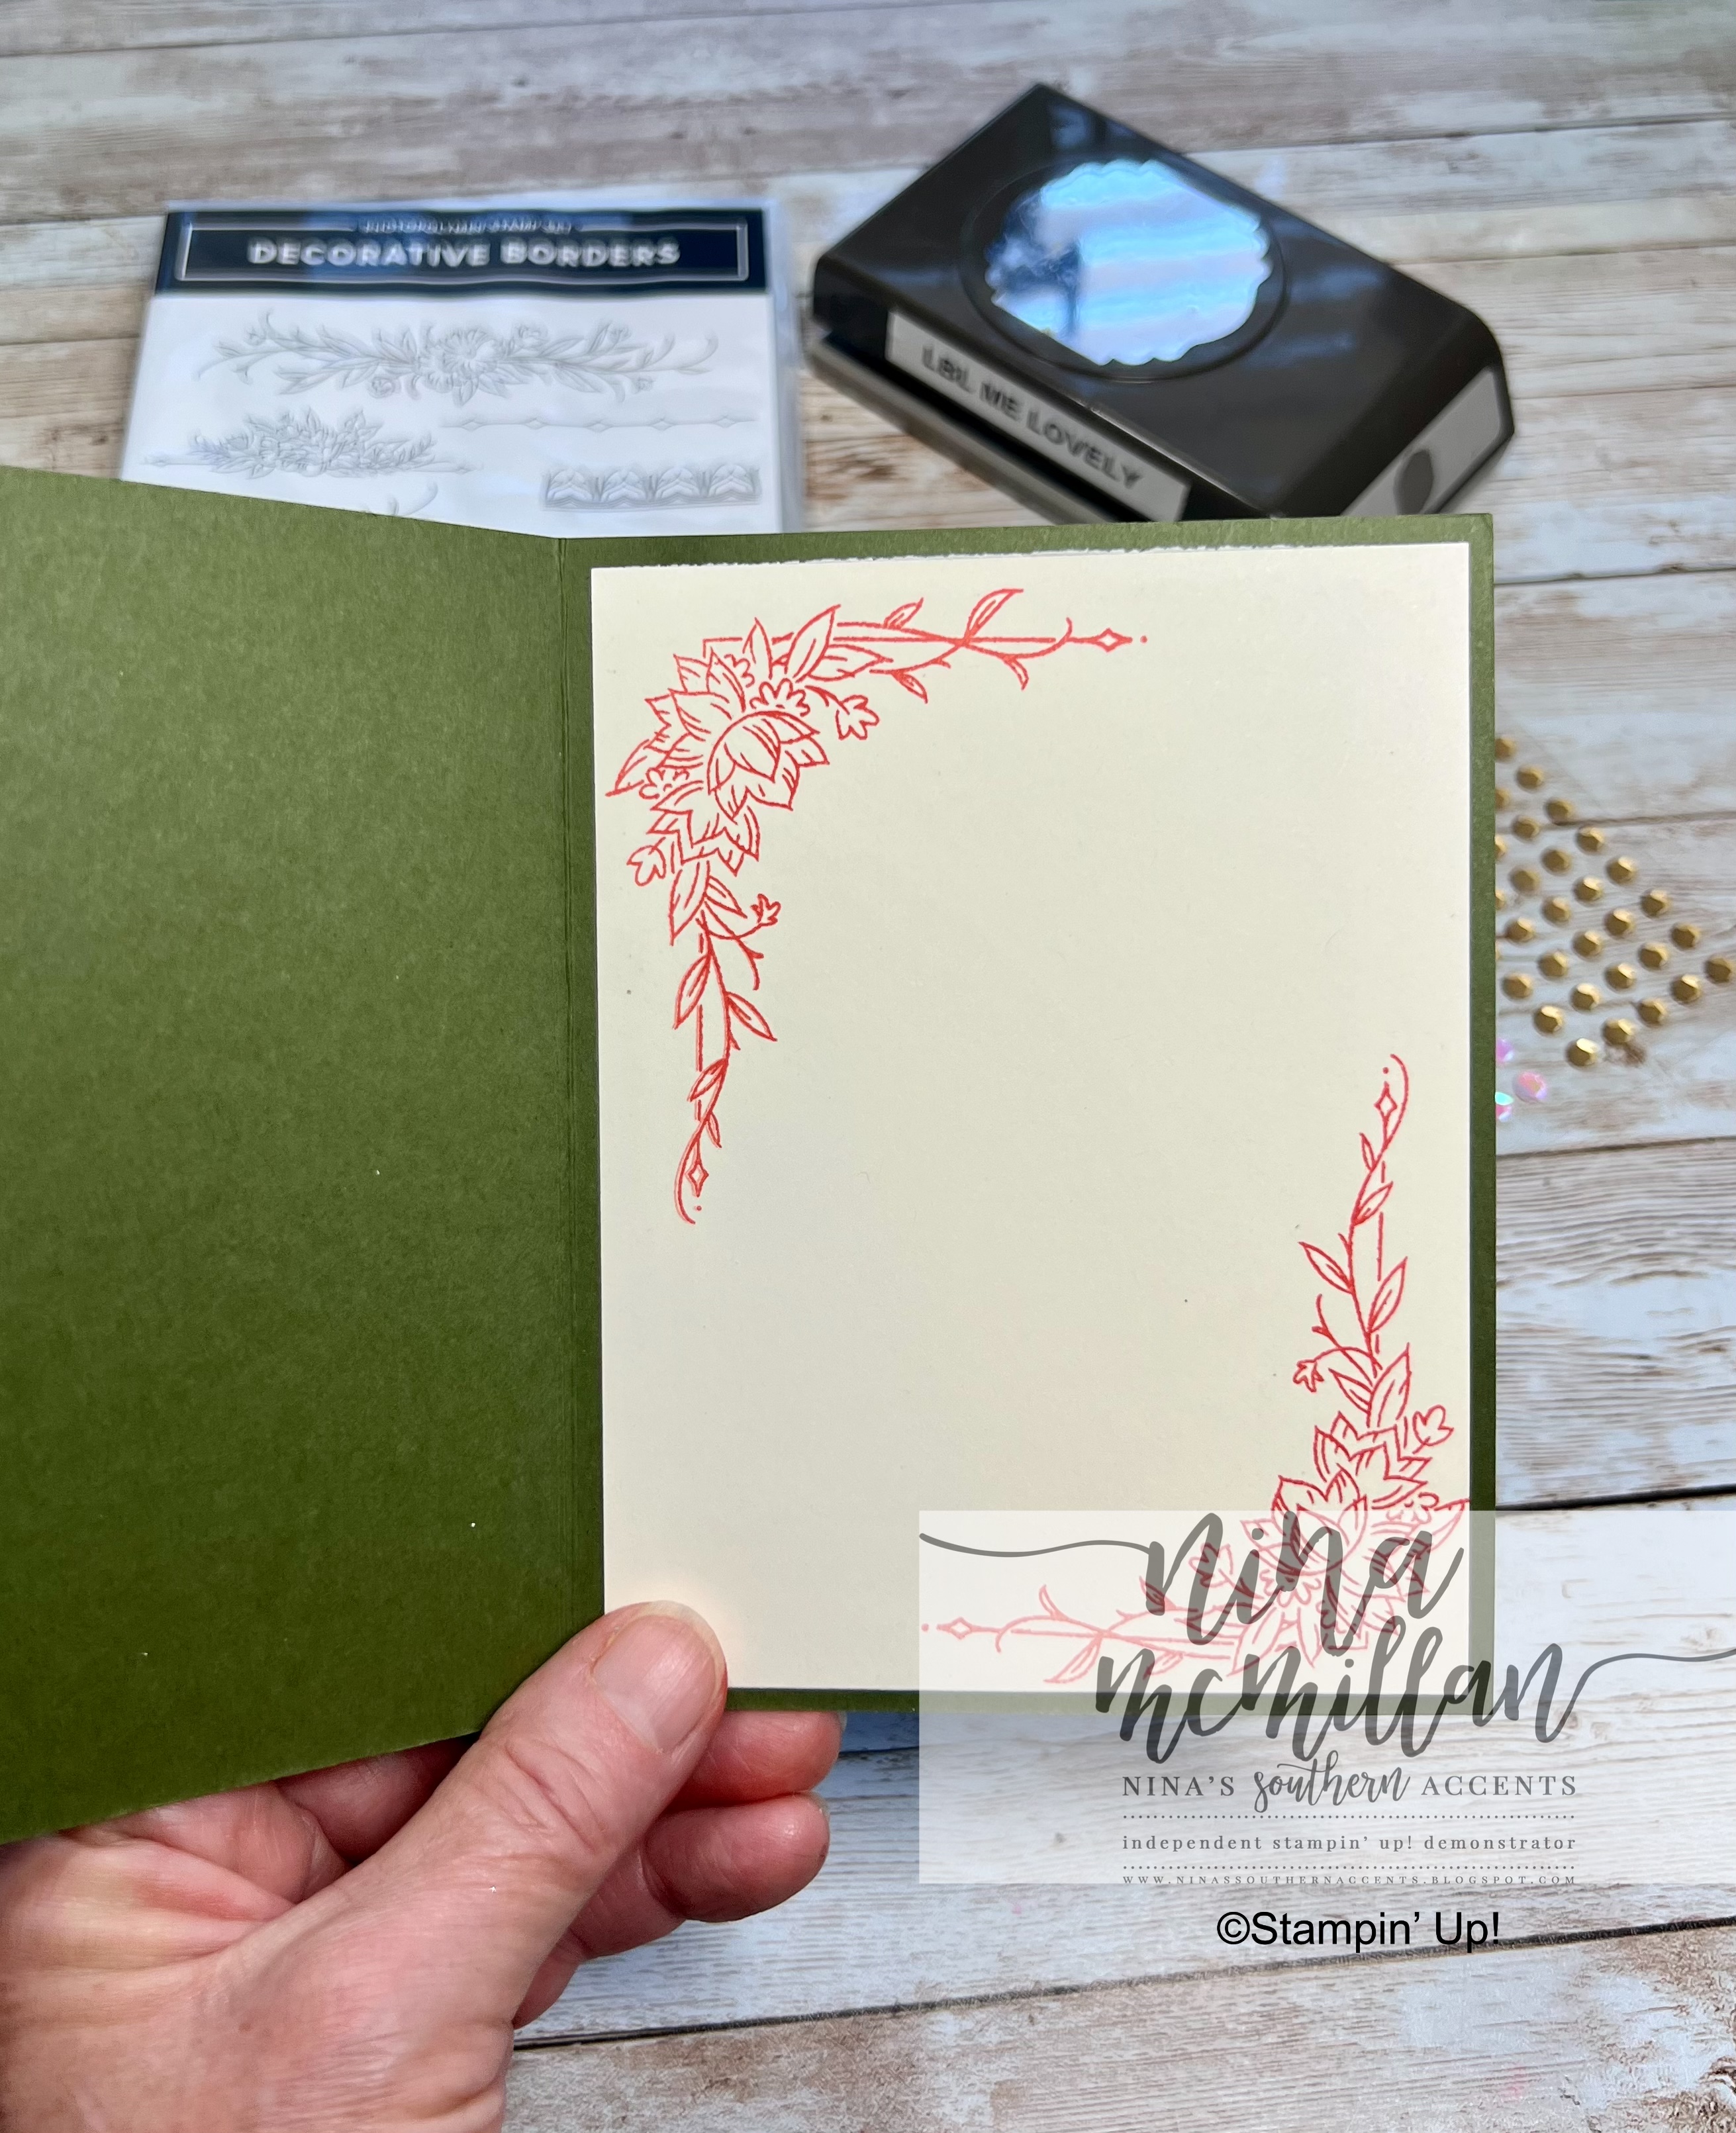
To decorate the inside, I added the corner border stamp onto a 4 x 5-1/4 panel of Very Vanilla.
TIP: Use cardstock and ink colors found in your DSP-here I've used Calypso Coral and Mossy Meadow. One of the awesome things about Stampin' Up! is the color coordination of ink, paper and ribbon. And every pack of DSP is labeled with what colors are used in it.

For my last project, I wanted to show off those beautiful flowers, so I "fussy cut" some and used them for my focal image. I also cropped a rectangle of the DSP from the Scalloped Contours dies. The cardbase is Fresh Freesia, then a Basic White panel embossed with the Brick & Mortar 3D embossing folder.

I stamped my sentiment in Gorgeous Grape onto a label cropped with the Lasting Label punch, then added some Fresh Freesia ribbon behind it and popped it up with dimensionals, along with one of the fussy cut flower.
Do you see so much you like but are saying "I can't afford all that!" Did you know that during Saleabration you can get $175 in product PLUS a Mini Stampin' Cut & Emboss for only $129, with free shipping to boot! And no you don't have to sell anything, just be a happy shopper and order from yourself. I would love for you to join my team!
***want to start card making but not sure what you need? I will be happy to help you decide what you need in your stash! Contact me at ninassouthernaccents@gmail.com with any questions.***

Sign up for my Paper, Ribbon, and Embellishment Share! See all the details HERE

Have you seen the kits collection? Here is one of my favorites-ANYTHING to help me organize! And I am promising to be better about sending cards in the New Year, so I know this is going to be a huge help.
To see all of the available kits, Click here
If you live in the US, do not have a current Stampin' Up! Demonstrator, and would like a copy of the catalog, email me at ninassouthernaccents@gmail.com with "Catalog Request" in the subject line, and I will be happy to send you one!
Available Now!
Email me at ninassouthernaccents@gmail.com with "Catalog Request" in the subject line to request a current catalog, or click on the image to view online.

Do you love Stampin' Up! products? Have a long wish list? Become a happy shopper and purchase from yourself at a discount, or even build a business. I would love for you to join my Southern Accents Stampin' Squad, and no! you don't have to have a Southern Accent lol! Click here to sign up.
Product List


Love,
Nina


