Showing posts with label Perfectly Plaid. Show all posts

Friday, October 25, 2019

Joy Fold Christmas Card & 2 Other Cards From Class

Hey Y’all!
I had my Rose City Stampers class today, and we always have so much fun!
This first card was designed by one of my SASS Team Members, Barbara DuPre. We heat embossed the magnolia onto vellum, then colored the back with Blender pens (not to be confused with Stampin’ Blends markers) in Purple Posy and Garden Green. And we found out if you don’t have Gold Faceted Gems, you can color the silver ones with a Soft Suede Stampin’ Blend marker, and it looks great!
This card uses the Holly Jolly Christmas Bundle. The background is a watercolor wash in Night if Navy on Shimmer White cardstock. We used the star cluster stamp from So Many Stars, and heat embossed with the Shimmer White embossing powder. A red rhinestone makes a perfect nose for Rudolph, don’t you think!


This last card is called Joy Fold card, and uses the Chalkboard technique. I will share more about the nuts and bolts of the Joy Fold in a future post. However, I did want to share the measurements:
  • Cherry Cobbler 8-1/2 x 4-1/4, scored at 5-1/2, 8 x 3-1/4, scored at 4
  • Wrapped In Plaid DSP 2-1/2 x 3-3/4
  • Basic Black 3 x 3-3/4
  • Shaded Spruce 4 x 5-1/4
  • Whisper White 3-3/4 x 5

I CASE’d the colors and technique from Kelly Acheson. I absolutely love the Wrapped In Plaid Suite, and have you seen the Host set “Greatest Part of Christmas”? The fonts are gorgeous and go so well with this technique. You can receive this set as a host reward with a $150 order, or you can use my Frequent Buyer Rewards, see the details by clicking on the tab at the top of the page. To do the Chalkboard technique, lightly sponge White Craft ink onto Basic Black cardstock. A little goes a long way! Then stamp your sentiment in the Craft ink as well. Here is a tip: when you press your stamp to the paper, hold it for 3-5 seconds to allow the ink to seep into the paper. This will give you much better images. The Gold Foil Star came from the Stitched Stars Dies.
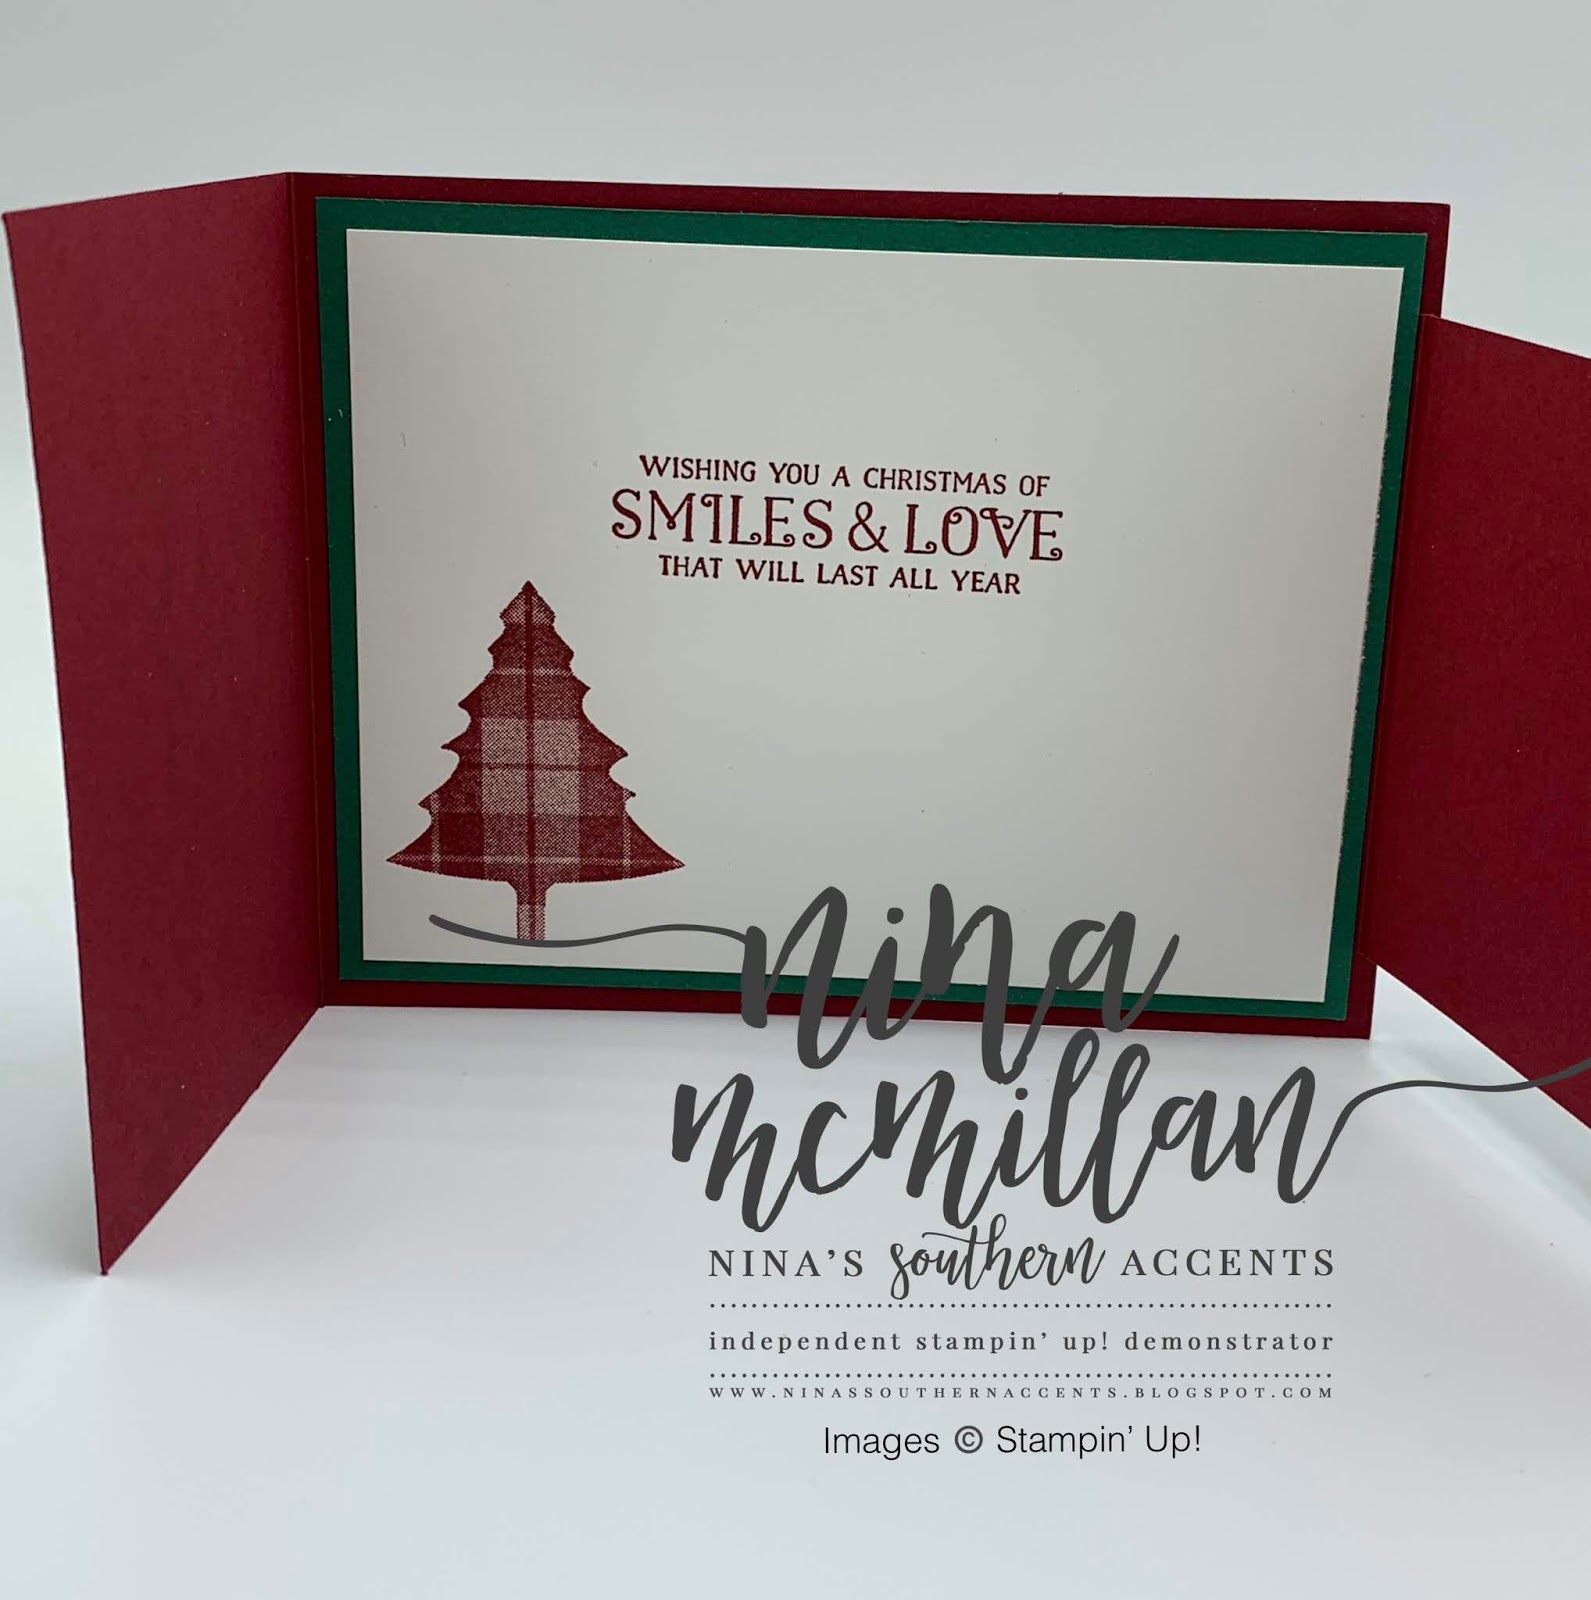
Here is the inside of the card, that plaid tree stamp is so stinking’ cute!
If you live in the Southwest Georgia area and would like to attend my classes, I would love for you to join me. You can see my schedule by going to my Calendar. 
Thanks for stopping by today! If you would like to purchase any products used today, click on the images below to go to my Online store. Please use the current Host Code found in the right column. 
Product List
Blender Pens
[102845]
$12.00
Paper Snips
[103579]
$10.00

Sunday, September 15, 2019

CASE the Catty-Let’s Get Hopping Round 24

Hey Y'all!
I am excited to join this fabulous group of stampers for another blog hop today.  You may have arrived here from Tanya Rees, or if you are just getting started with me, welcome! This month we are CASEing the Stampin' Up! catalog in our monthly hop.  The Catalog is so much more than just a book to order products; it is a treasure trove of project ideas and inspiration!  Since becoming a demonstrator, I have saved every catalog to get project ideas from.  If you aren't familiar with the term "CASE", it means "Copy And Share Everything" or "Copy And Selectively Edit," which is what I have done here.

I chose to CASE a card from a product I don't own to show you how you can get inspiration from a layout and make it your own.  The card shown from the catalog was made using the Most Wonderful Time Product Medley on page 39 of the Holiday Catalog.  My layer measurements aren't exactly the same as the original, my deer is larger, but that is how you CASE...you draw inspiration.  CASEing could also mean using the same color scheme and making a totally different card.  I always try to make my project a little different to add my own personal touch when I CASE something.


My color scheme was inspired from the DSP I chose.  Don't you love that Stampin' Up! products coordinate so well, you don't have to worry if the cardstock, ink, ribbon, etc are going to match.  I used the Dashing Deer stamp set and dies from the 2019 Annual Catalog.  I brought in the tree image from the Perfectly Plaid stamp, and punched it with the coordinating Pine Tree Punch, (which comes as a bundle and you can save 10%---WINNING!)

I did a watercolor wash in Shaded Spruce, then once it was dry, stamped the flower image with the absolutely yummy new Gold Delicata Ink.  I also stamped a pine cone image to add interest on my card base, and the garland on the Cherry Cobbler circle with the gold ink as well.  I added some die cut gold foil flowers in place of the star elements on the original card.

Tips and Tricks:
  • Card Base-8-1/2 x 5-1/2, scored at 4-1/4, Shimmery White layer 3-1/2 x 5, Vellum layer 3-1/4 x 3-3/4, DSP strips approximately 1 x 4-1/8 and 1/2 x 3 (just cut them to what length look good to you)
  • Use Shimmery White cardstock, Thick Whisper White, or Watercolor paper when you plan to do any watercoloring, they absorb water well and won't buckle like regular Whisper White.  Also, when doing a "wash" like I did in the background, add water to the paper first before applying the ink.  
  • If you want a darker color for the wash, less water=darker ink, more water=lighter ink.  I just pressed an acrylic block into my ink pad and picked up the ink from there with my aquapainter.
  • Use a layer of vellum to soften a background.  Apply adhesive behind elements adhered to the vellum to hide it. 

Hopefully you have been inspired to take a new look at your catalog and see what projects catch your eye, and how you can recreate them and make them your own!  Next up is Eimear Carvill. I know you will love what she has in store!

If you live in the US, don't currently have a demonstrator you are working with, and would like to order any of the products used, please click on the photos below to go to my online store.  Make sure you use the current host code found in the side bar to earn free products with my loyalty rewards program (you can see details by clicking on the tab at the top of the page.)  If you enjoyed this project, please leave me a comment, and also click that subscribe button so you don't miss any inspiration!  Thanks for joining us today, Happy CASEing!
Love,
Nina


Product List