Showing posts with label Halloween Treat Holders. Show all posts

Wednesday, October 20, 2021

Halloween Blog Hop


Hey Y'all!
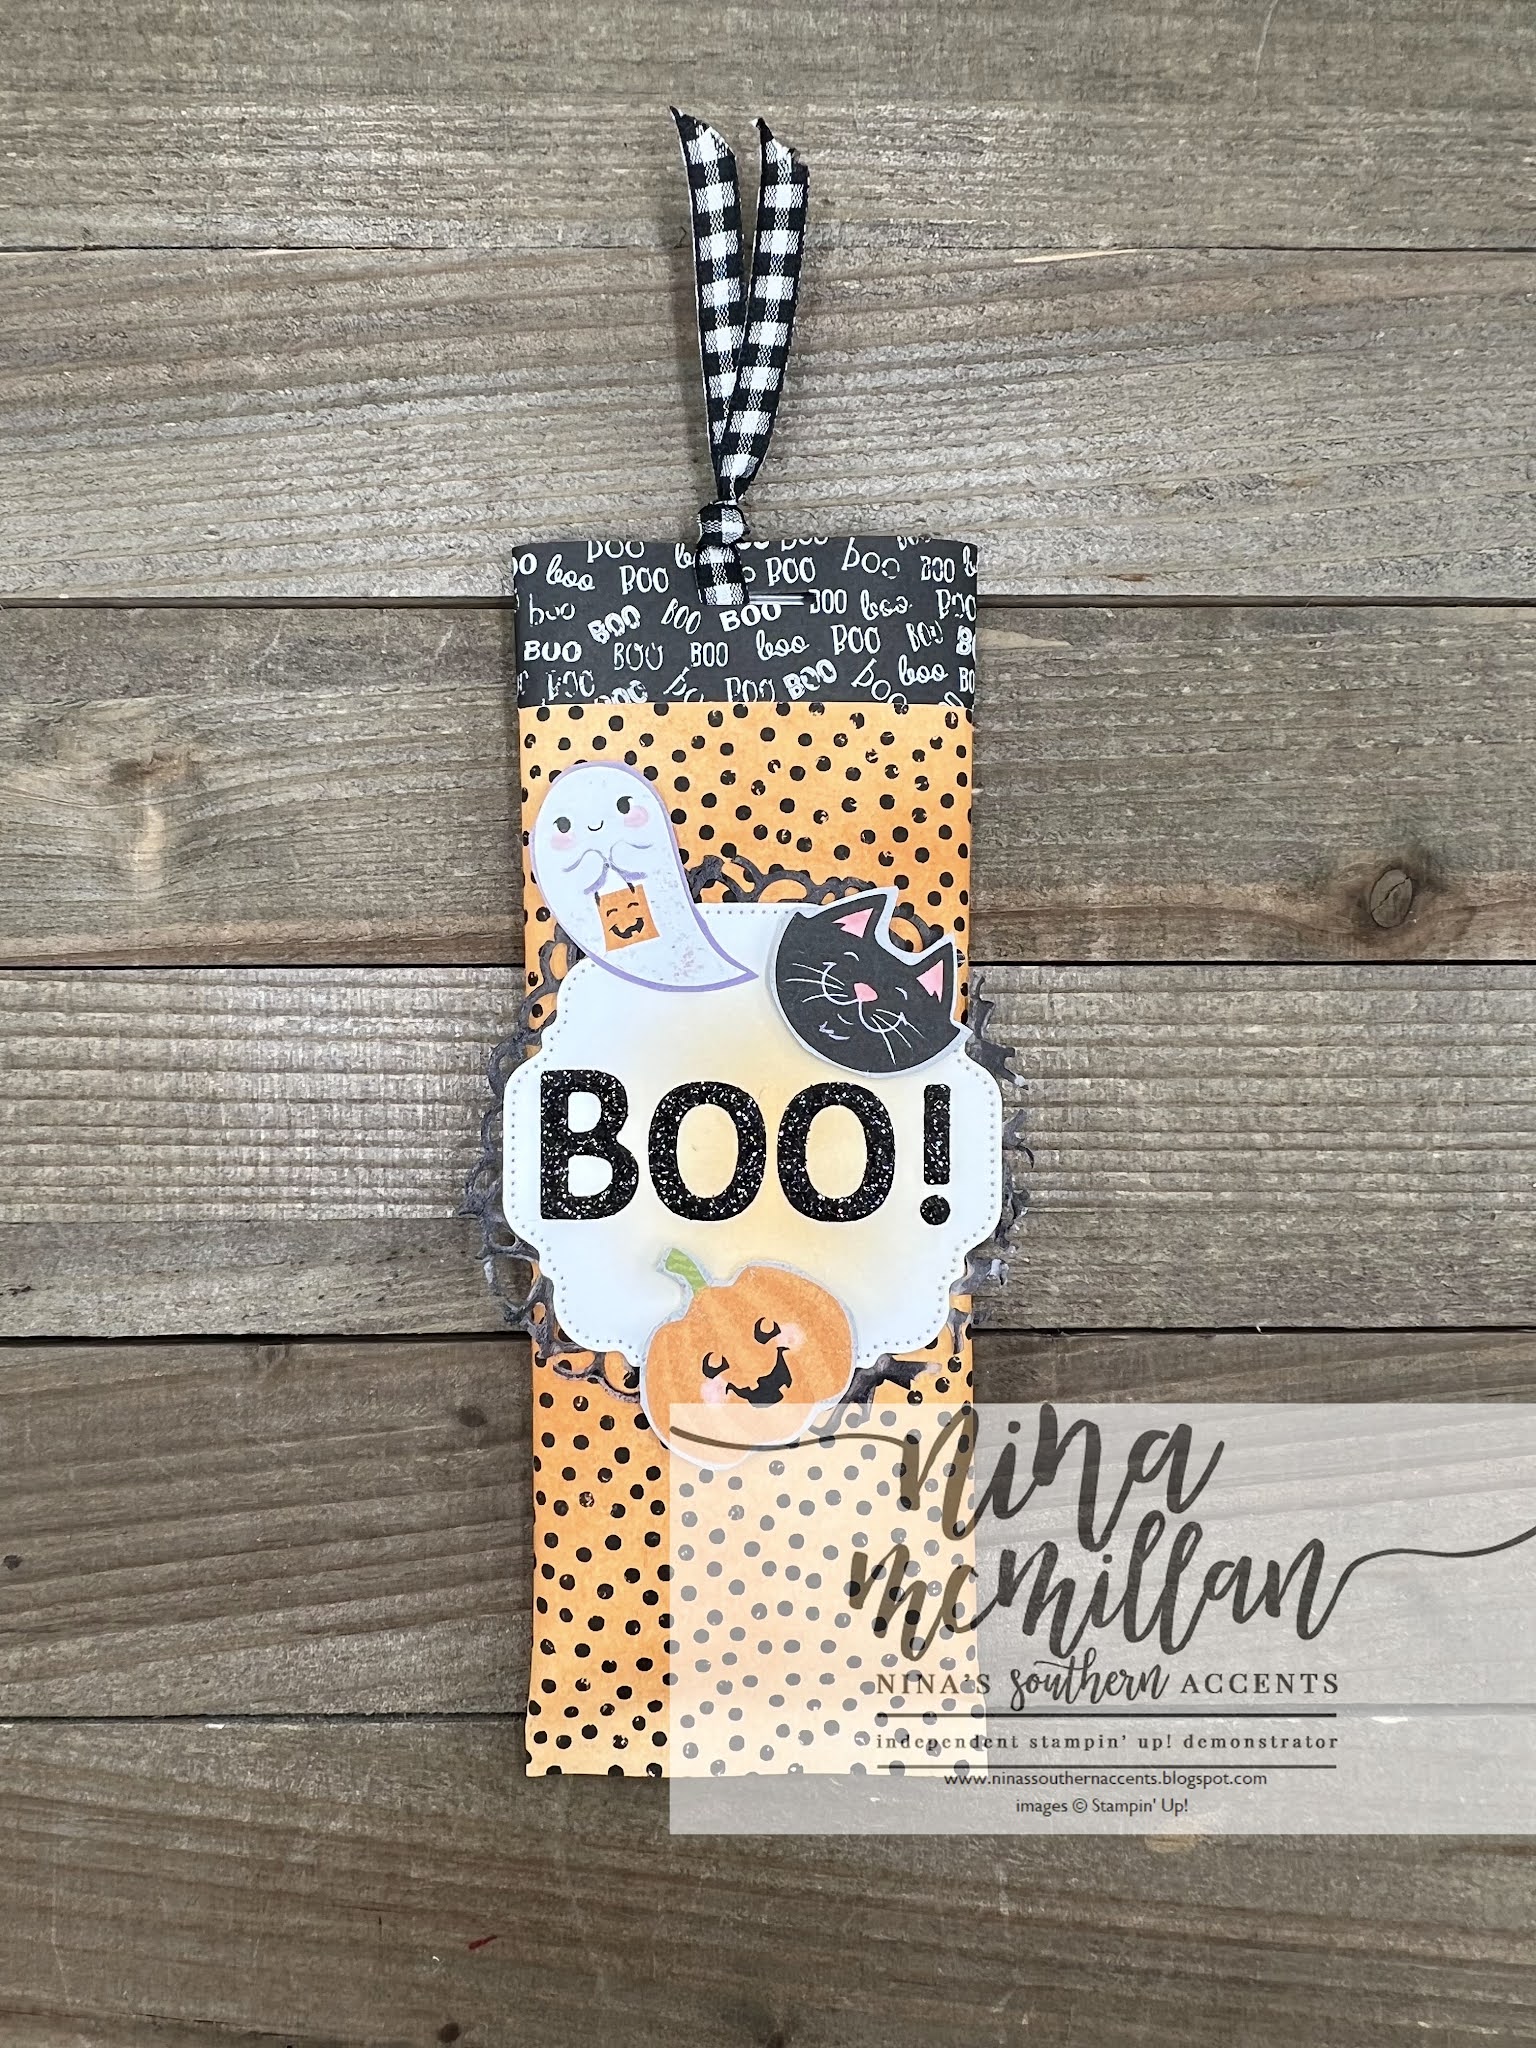
The Crafty Collaborators have joined together once again to share some awesome projects-this time we are sharing Halloween themed creations!


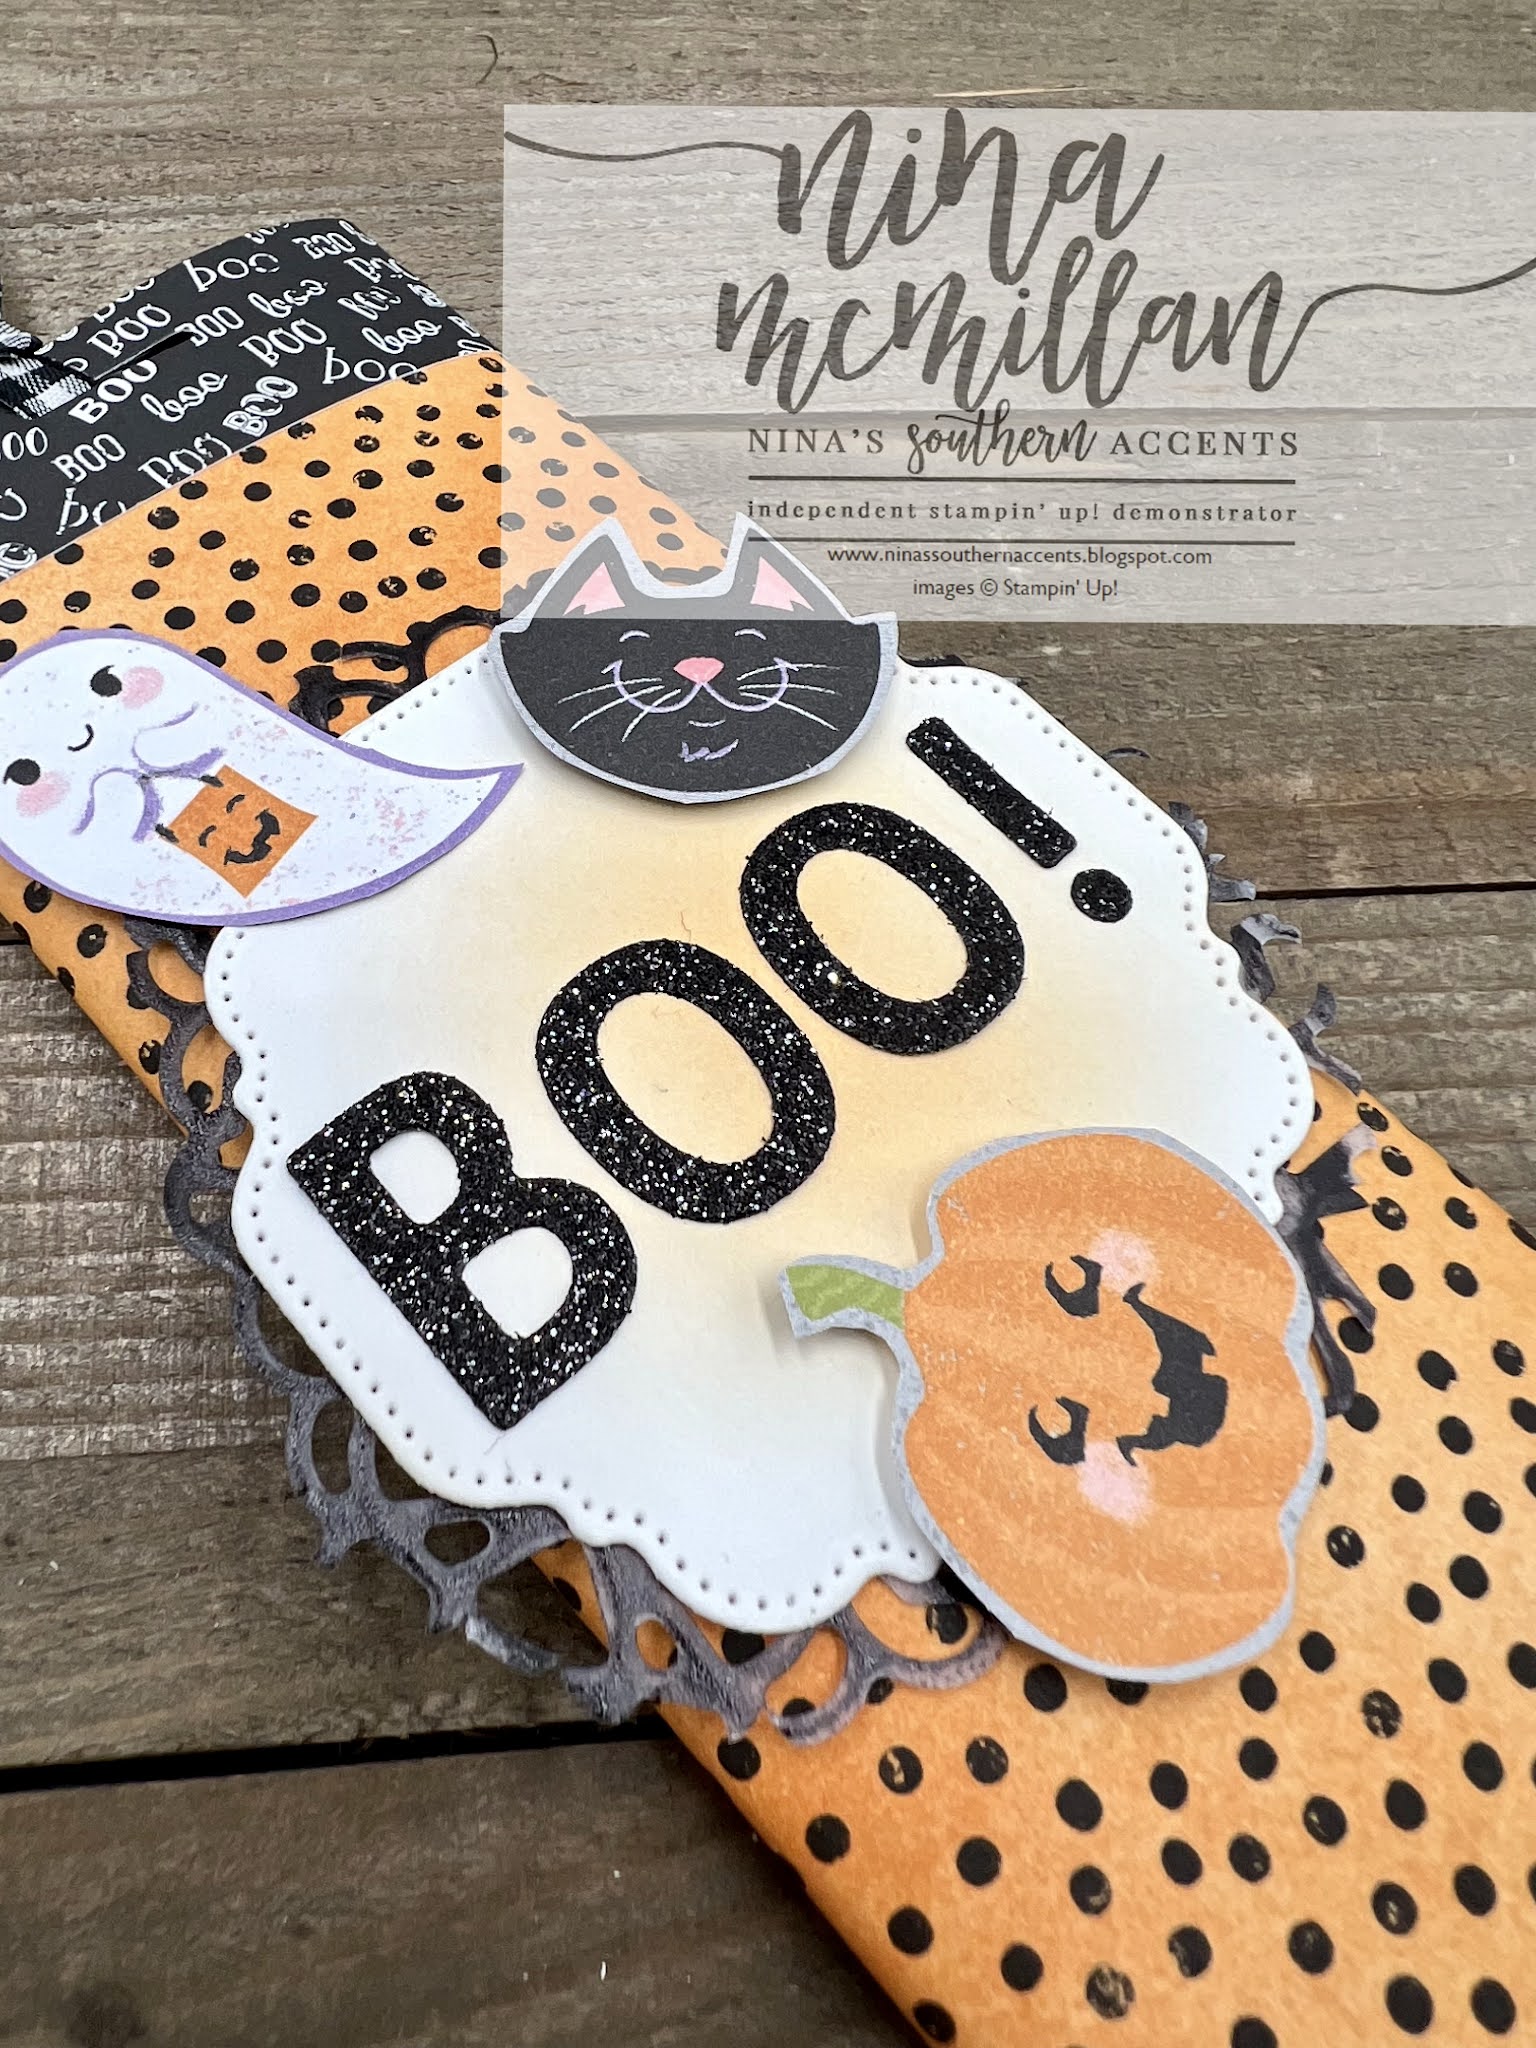
These Candy Bar sliders are so stinkin' cute, and will WOW the recipient and make them think you are so clever.


The possibilities for embellishment are endless!


If you would like instructions for this project, it is part of the Halloween Tutorial Bundle I am offering to everyone that places an order in the month of October.
Now it's time to see everyone else's creations!
>


If you would like to order any of the products used, click on the Products Images to go to my online store. Be sure to use the Current Host Code to earn free product from me! 


Every order in October qualifies for a Halloween Tutorial Bundle, lots of fun projects you can alter for any occasion!
Thanks for stopping by today, go make something beautiful!
Love,
Nina




Thursday, October 14, 2021

Stampin' Dreams Blog Hop-Kids and Babies


Hey Y'all!

Thank you for joining us for the Stampin' Dreams Blog Hop today! We are focusing on projects for Kids and Babies. My thoughts immediately went to one of the main reasons I fell in love with Stampin' Up!-gift packaging and treat holders! We have a Halloween party at my house every year for my family-my kids (who are grown and one is expecting my first grandbaby---we are on Cloud 9!), my nieces, nephews, friends...we have chili and hot dogs, games, a scavenger hunt, and a hayride through the cemetary. I love to create something special for the kids.


One of my favorite items in the July-December Mini Catty is the Pretty Pillowbox dies. I have shared other projects using them, and when I found another way to alter the pillow box, I knew what I would be making. This is not my original design, I CASE'd the design from other demonstrators, but this is my version. 


I was so bummed when I ordered the Frightfully Cute Bundle and the dies were on backorder. But my motto has always been use what you have. I die cut the tree with the Inspiring Canopy Dies, and just trimmed around where the trees were connected. I fussy cut the cat image, I realized I would have to do that anyway, there isn't a die for that. I used the label dies from the Pretty Pillowbox Die Set. And while I can't wait for my dies to be here (they are supposed to be available October 18, so you can order now, and they should be in in time for Halloween), I'm happy with the finished product! I can't wait to fill it with treats to give to everyone! 
Now it's time to see what everyone else is sharing today, scroll down to see the Measurements and Instructions.

Measurements and Instructions:
  • Box: Pumpkin Pie 6-1/4 x 5-1/2, score on 6-1/4 side @ 1-1/2 on both sides, score on the 5-1/2 side @ 2" on both sides. 
  • Cut out 2 of the Pretty Pillow Box dies, trim off bottom and sides to fit bottom of box. 
  • Use smallest Layering Circle Die to create "handles" at top of pillow box die (***make sure you do this step before adhering them to the box, don't ask me how I know)
  • Adhere to box
  • DSP 2-1/4 x 4-1/2, die cut the middle portion of the pillow box, and adhere to front of the box. Trim as needed
  • Embellish as desired!

If you would like to order any of the products used, click on the Products Images to go to my online store. Be sure to use the Current Host Code to earn free product from me! 


Every order in October qualifies for a Halloween Tutorial Bundle, lots of fun projects you can alter for any occasion!
Thanks for stopping by today, go make something beautiful!
Love,
Nina


Thursday, October 1, 2020

Howlin' Halloween Blog Hop


 Hey Y'all!

Today I am joining my Crafty Blog Hop friends to share some Howlin’ Halloween projects. I love making treat holders, and I chose an old stand-by that doesn’t require any special dies or fancy cutting to make-the 2-4-6-8 box.


I used the Little Treats Bundle and Plaid Tidings DSP (which, by the way, is on sale!) to decorate it.


I used Blackberry Bliss and Mango Melody Stampin’ Write markets to ink up the flag stamp, and added Wink of Stella to the spider die cut for some sparkle.


For the closure, I die cut a piece of Mango Melody cardstock with a Celebrations Labels die, folded it in half, and adhered one side to the back of the box. I used some of the DSP to embellish a mini clothespin I had in my stash, and added some Glittered Organdy Ribbon.

Measurements:

Blackberry Bliss Cardstock 5-1/2 x 8-1/2 (1/2 sheet of cardstock, you can get 2 of these out of one sheet)

Score on 8-1/2 side @2, 4, 6, 8

Score on 5-1/2 side @ 2

DSP: 1-3/4 x 3


Here is the template for the box.
These are so quick and easy to make, and they hold a lot of stuff! Make sure to hop all the way through with us, just click on the next name on the list.


If you would like to order any of the products I've used today, click on the images below to go to my online store.  Remember that select Designer Series Papers are on sale in the month of October, including the DSP I used on my project today. Please use the current host code found in the right column. Thanks for stopping by!

Love, 

Nina


Product List