Tuesday, August 11, 2020

Color Challenge-Global Design Project #253

 Hey Y’all!

It has been awhile since I played along with the Global Design Project challenge, but I was able to join in this week.  And I am so glad I did... I love the Color Challenges!

Isn't that a fun color combo?  Here is my card inspired by these colors....
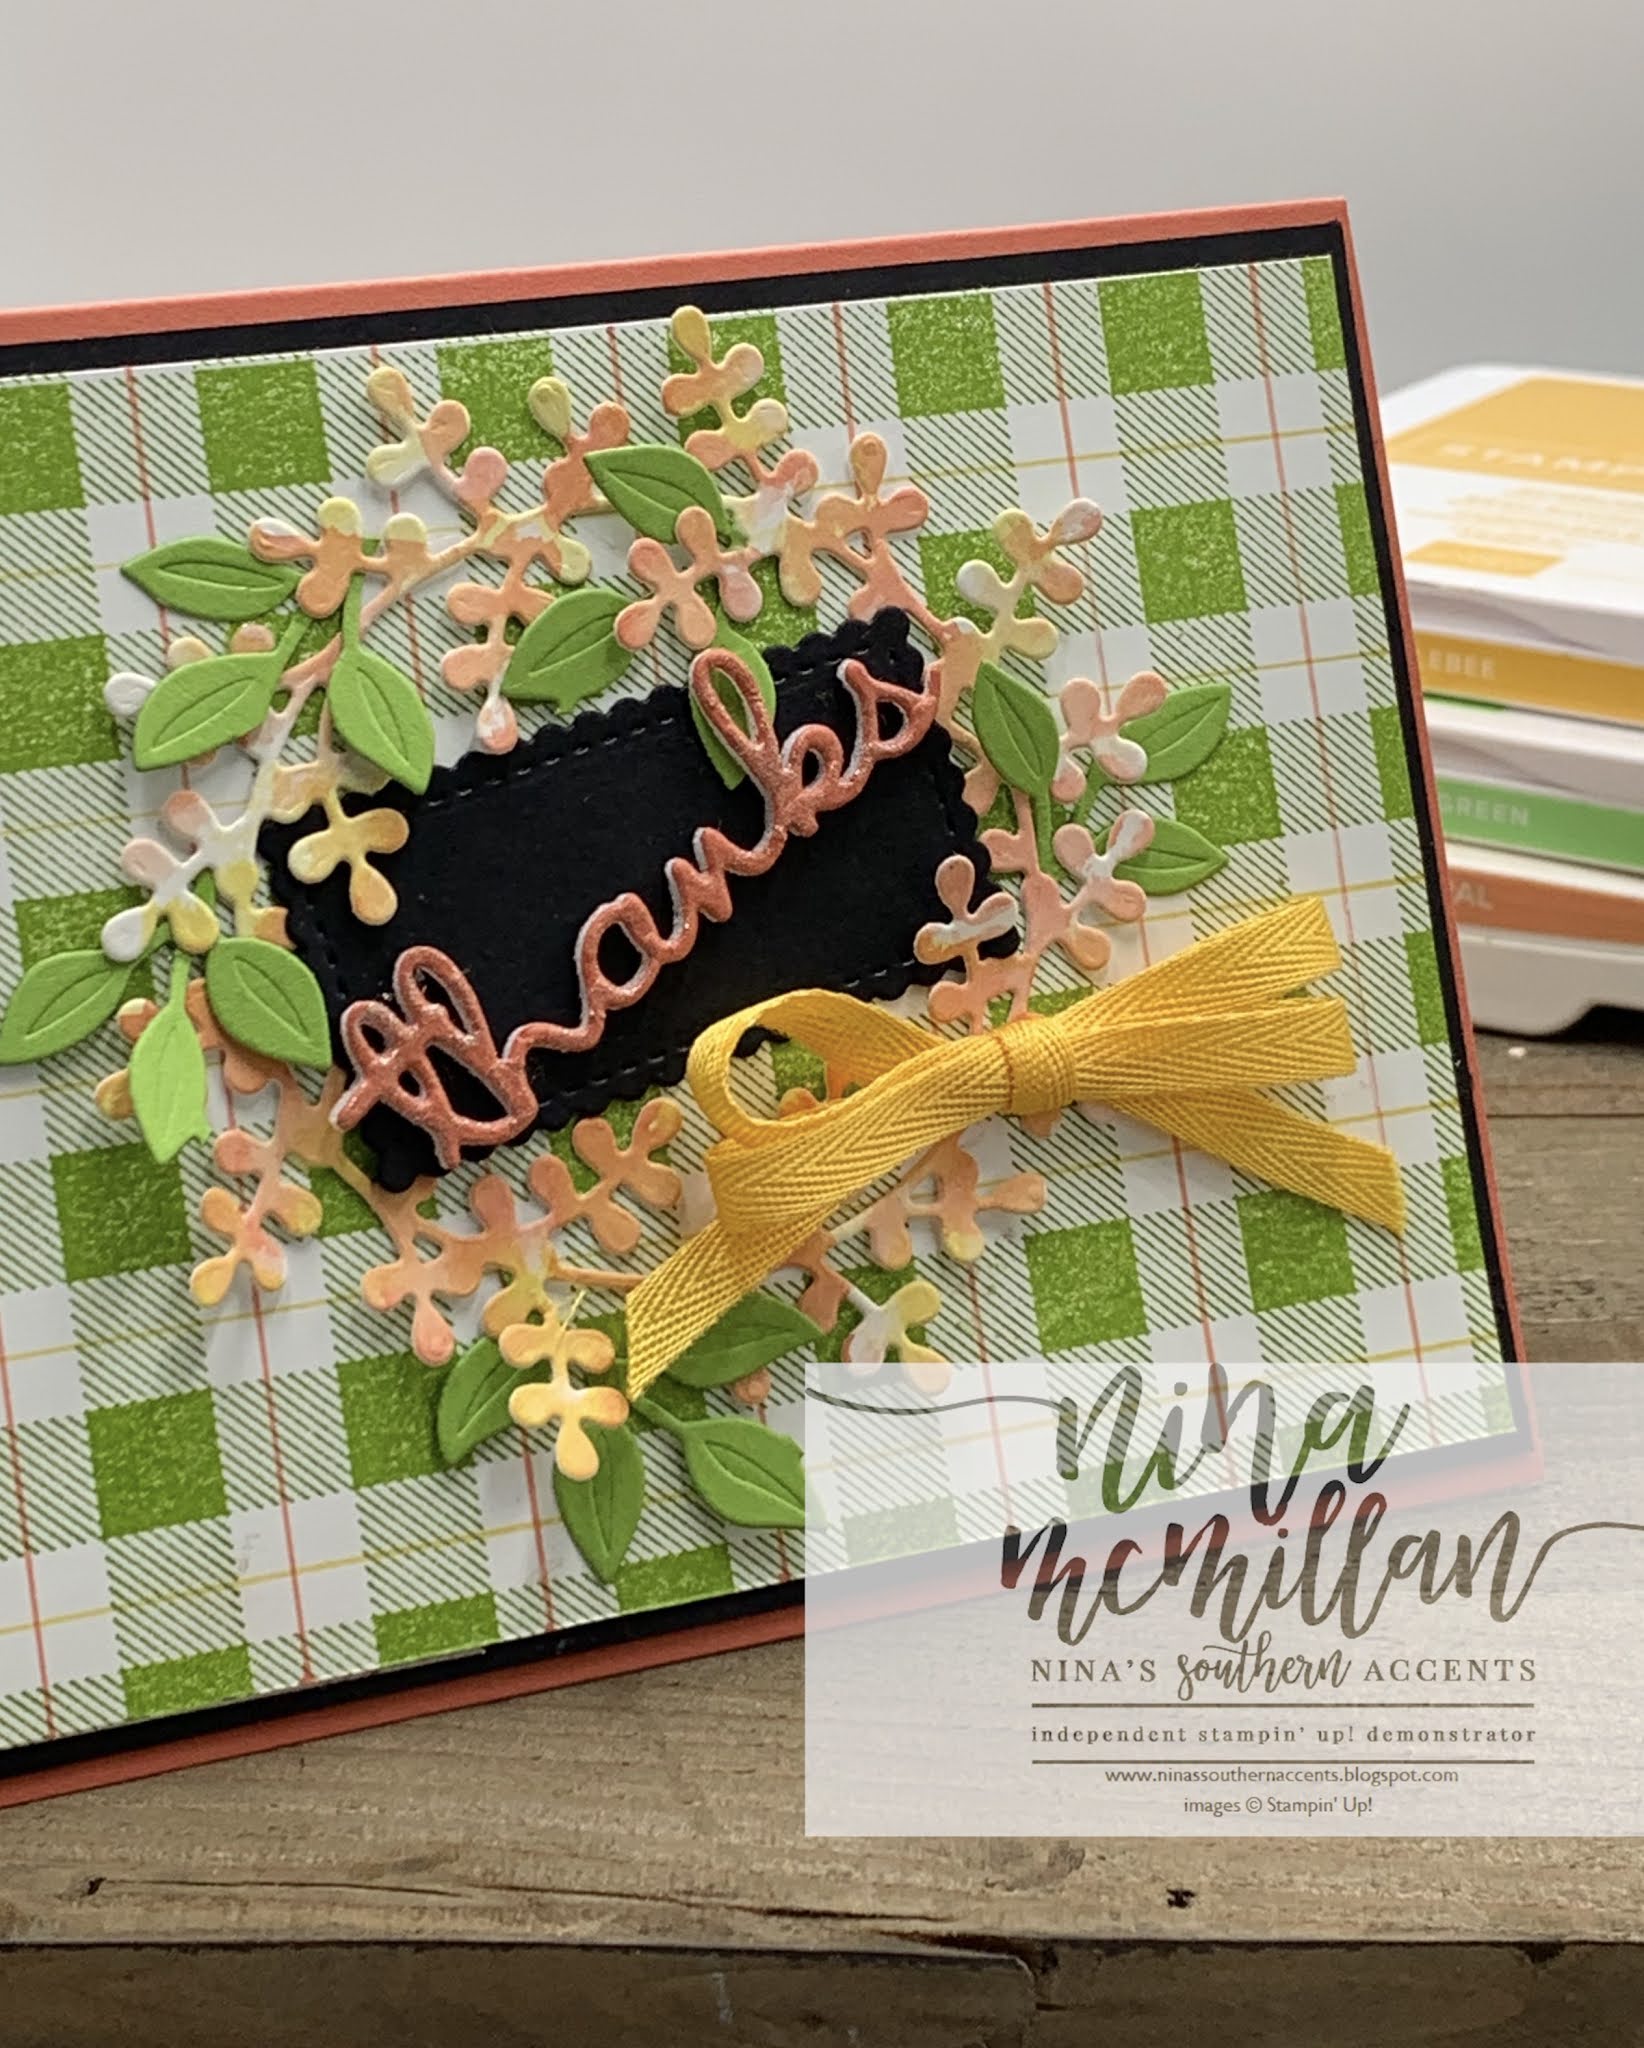

I used several different dies to bring this card together.  In fact, the only stamp I used was the Buffalo Check background stamp!  I stamped it in Granny Apple Green, then used my Stampin' Write markers to add Calypso Coral and Bumblebee lines.


To make the wreath, I started with some Shimmery White cardstock and used my water painter to add Calypso Coral and Bumblebee inks.  I then die cut one of the wreaths from the Wreath Builder dies. I used the other wreath in that set to cut a piece of Granny Apple green cardstock. I then cut that wreath apart and just used some of the leaves so as not to overpower the watercolored wreath.


My greeting came from the Well Written dies.  I used the Foam Adhesive Sheets to pop it up, and placed it on a piece of Basic Black cardstock die cut with the Stitched So Sweetly dies (y'all know those are my absolute favorites, right?) I added some Wink of Stella to the "Thanks" for a little sparkle.  A bow made with the Bumblebee In-Color ribbon was the finishing touch.


Of course, you have to decorate the inside. I added the leftover piece of wreath, and I used a sentiment from Here's a Card.  Since I already had my Stampin' Write markers out, I used them to add ink to the stamp and stamped the sentiment in two different colors, one of my favorite techniques.

Tips:
  • Card Measurements: Calypso Coral Card Base 8-1/2 x 5-1/2, scored at 4-1/4, Basic Black layer 4-1/8 x 5-3/8, Whisper White layer 4 x 5-1/4
  • Make your own background paper to die cut from with water painters.  Use acrylic blocks as a palette for the ink.  The best paper to use is Watercolor paper, Shimmery White cardstock, or thick Whisper White.
  • Stampin' Write markers can be used to add ink to stamps.  These are not to be confused with Stampin' Blends, they will not work for this technique. Use the brush tip end, and be sure to "huff" on the stamp to add moisture back to the ink after applying the marker. 
  •  I also used them to make a "plaid" look with the Buffalo Check stamp. I used the thin tip for this technique.  Use grid paper and a ruler to get even lines.

Thanks for stopping by today!  If you don't already have a Stampin' Up! demonstrator, I would appreciate your business.  Contact me at ninamac32@hotmail.com to request a catalog.  To order any of the supplies used, click on the images below to go to my online store.  Remember to use the current host code found in the right column.  Hope you have a wonderful day!
Love,
Nina


Product List

Saturday, July 25, 2020

Little Treats Bundle for Christmas In July


Hey Y'all!
I am so excited to get to join in another blog hop with some fabulous Stampin' Up! Demo friends! Christmas In July is a popular theme these days...maybe because the new Holiday Mini Catalog is right around the corner.

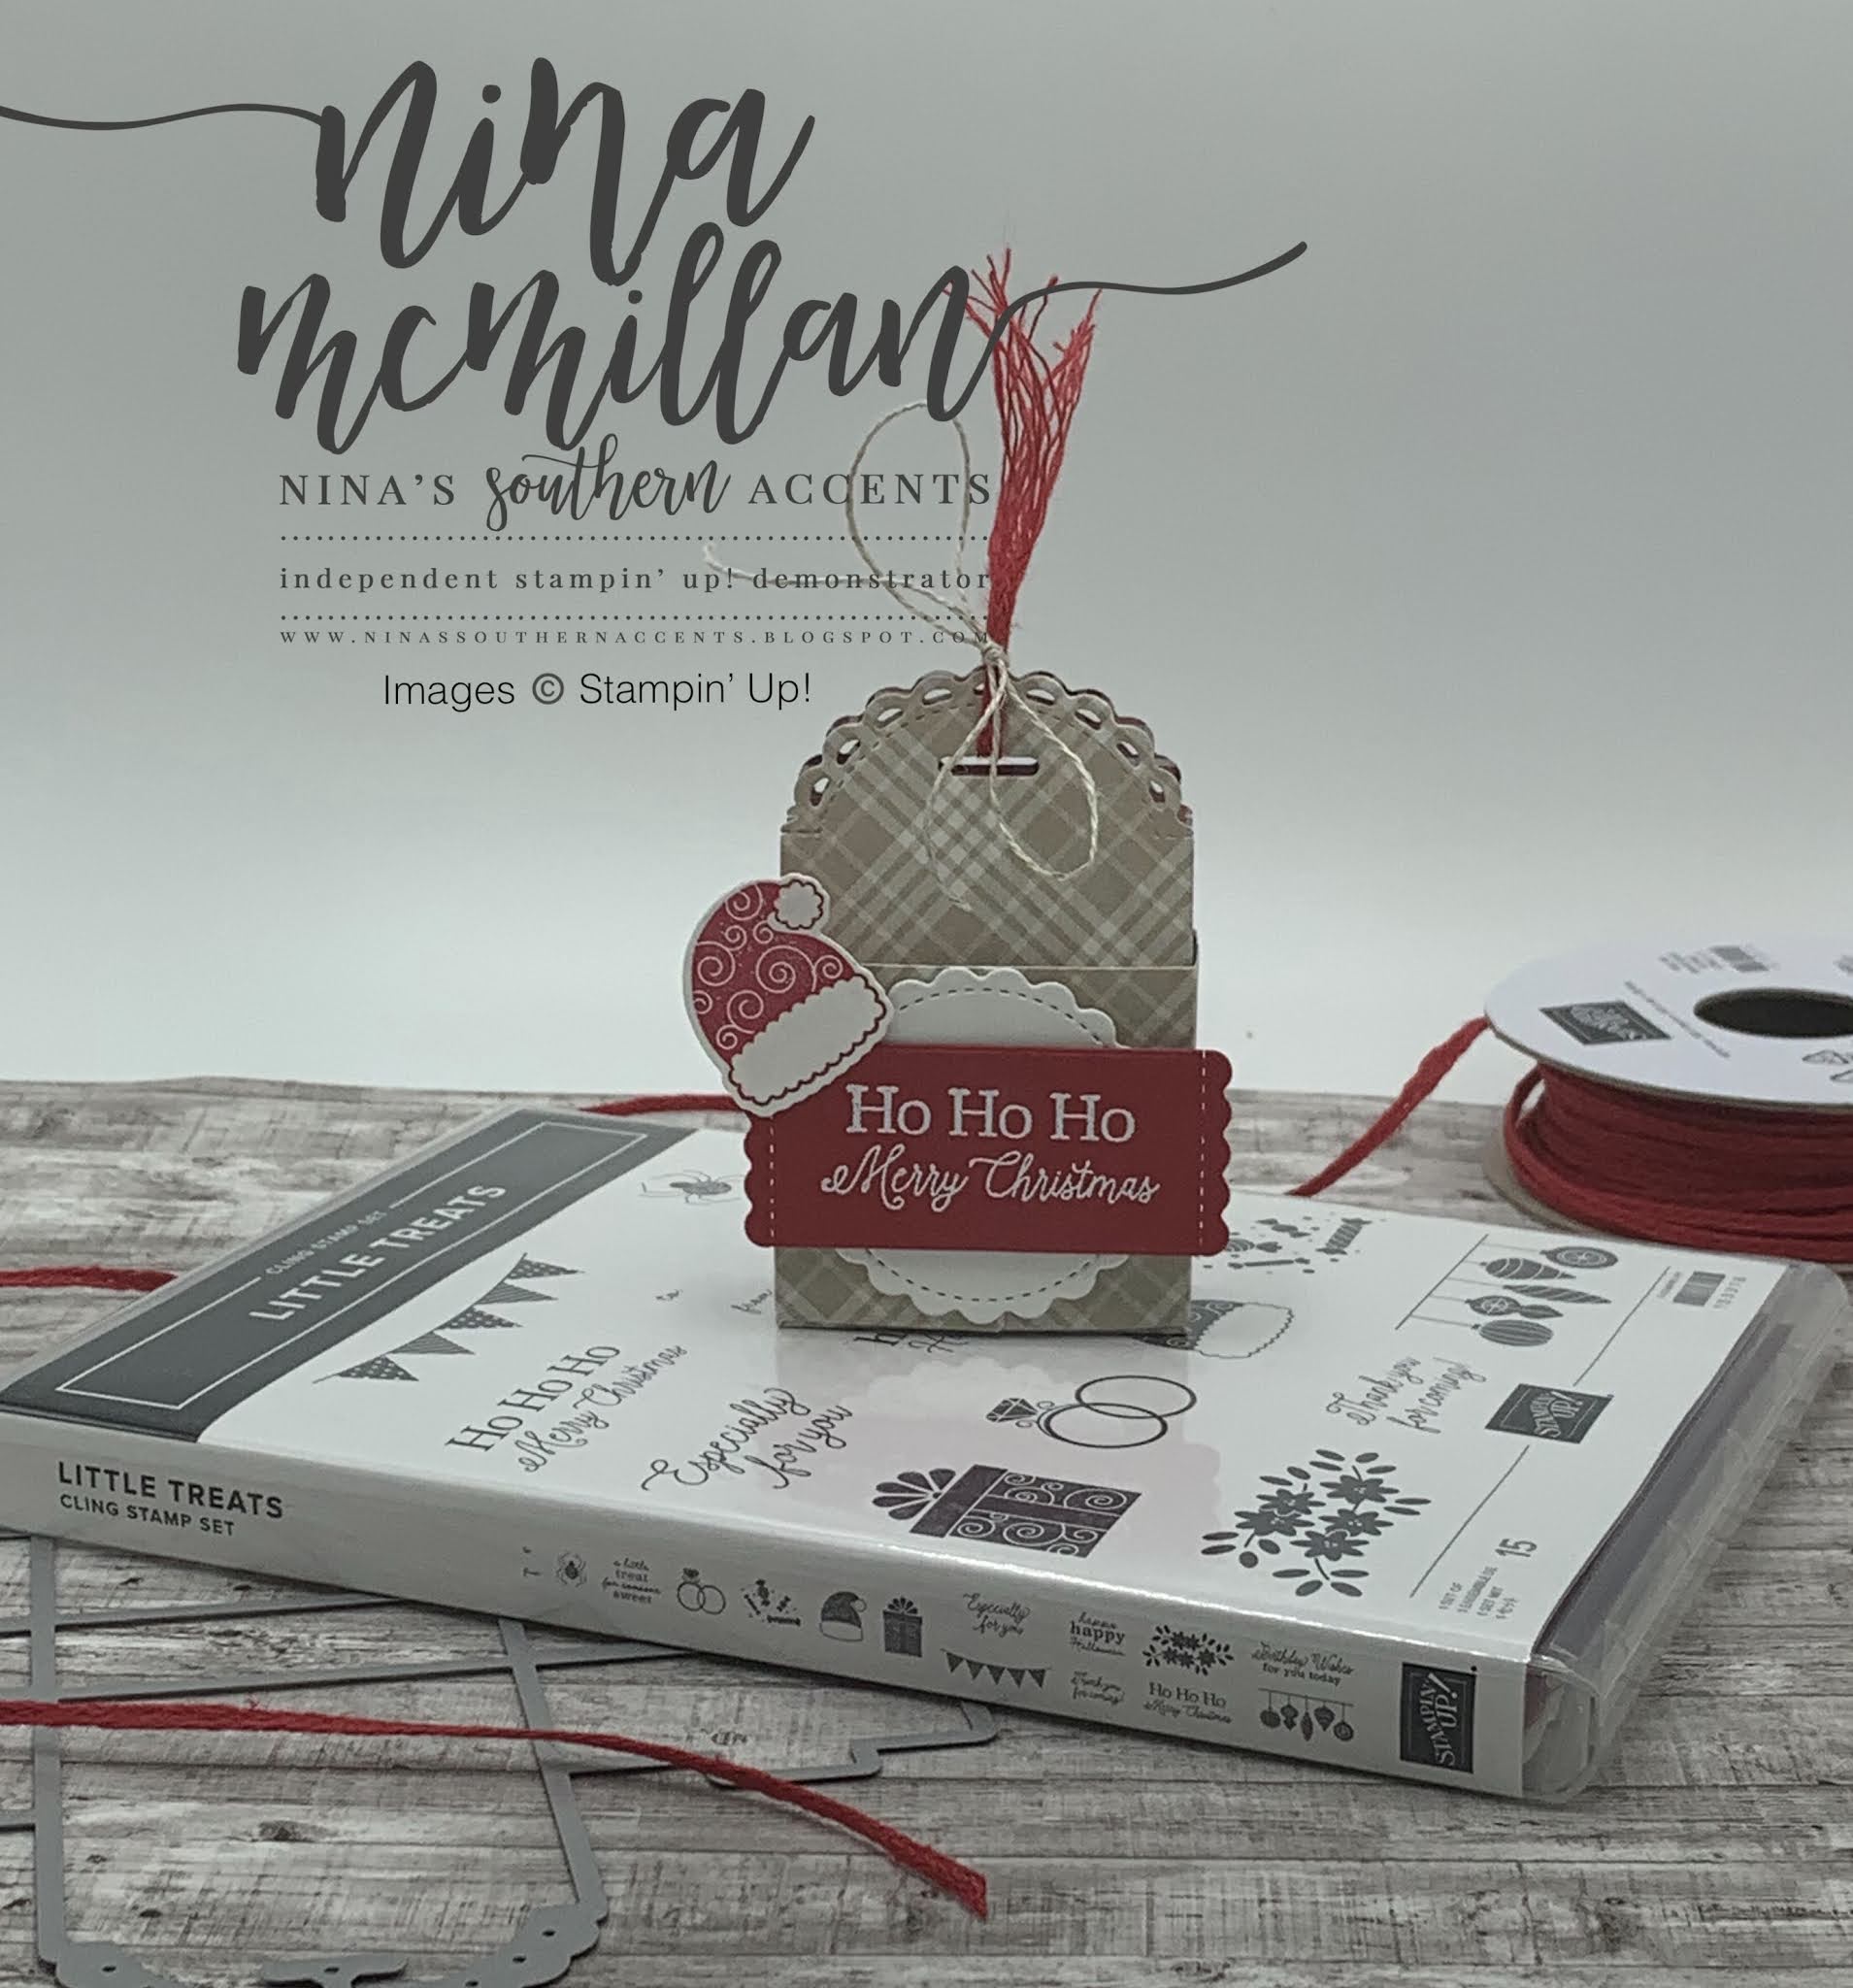
I chose to showcase one of my favorite bundles in the new catalog...the Little Treats Bundle.


I appreciate a versatile stamp set, and this one has you covered for so many occasions.  And I love treat holders.  This is a perfect set for school/teacher treats, table favors, or anytime you want to just #sharesunshine.
                                      

I went to my snack stash (what? you don't have one of those???😀) and found some things that will fit. 


One of the things I am so excited about is NO ADHESIVE REQUIRED! That's right, the box will go together without any glue.  The die also fits a 6x6 piece of paper.  I love the Plaid Tidings DSP pack because the colors can be used for any occasion.  

*****Tip*****
Die cut several of these in several different pattterns and colors.  Store them flat, then when you need a quick gift.

Look for a future post on how to adapt this into a gift card holder.

Thanks for stopping by today, make sure you hop all the way through to get lots of ideas for the Christmas season...it will be here before you know it!


If you are interested in ordering any of the products used in today's project, live in the US, and don't already have a Stampin' Up! demonstrator, I would appreciate so much you choosing to shop with me.  Click on the images below to go to my online store.  
Love,
Nina
Product List

Sunday, July 19, 2020

Christmas In July-Let's Get Hopping Round 33

Hey Y'all!
Welcome to the July Let's Get Hopping blog hop.  This month we are celebrating Christmas In July!  If you have been hopping along with us, you arrived from the lovely Teresa Brown.  If you are starting with me, make sure you hop all the way through...I know you are going to love all of the projects we are sharing.
In my opinion, there are 2 types of people in the world....those who can't wait for Christmas to come, and those who can't wait for it to be over.  There are a few in-betweeners, but I am definitely in the first group! I'm the person that on the 25th of every month, I announce "so many months til Christmas!"  Yeah, some of you probably hate me right now😂

For my project, I chose elements from my favorite suite in the 2020 Holiday Mini Catalog...the Heartwarming Hugs Suite.  It is perfect not only for cards, but for gift packaging as well.  

This card layout is a classic that can be scaled up or down, make it as fancy or as simple as you want.  The DSP measures 5-1/2 x 2-1/2 and 5-1/2 x 1/2.   I used lots of layers for the focal image, and stamped the smaller images at the top of the card base to create a background. 


Of course, you can't forget the inside of your card.  Another alternative would be to add a strip of DSP along the bottom.  
The next stop is my friend Tanya Rees, I can't wait for you to see what she has in store!


If you live in the United States and don't have a Stampin' Up! Demonstrator, I would love to help you with your crafting needs.  If you are interested in purchasing any of the products used today, simply click on the images below (the first 6 items are not available to customer until August 4, 2020.)  Of course you can join my team as a demonstrator and get them early, one of the perks of being a Stampin' Up! demonstrator!  Thanks for stopping by, make sure you subscribe so you don't miss any fun!
Love,
Nina

Product List