Friday, February 7, 2020

Fun With Embossing Paste

Hey Y’all!
Last night on my Facebook Live, we played with embossing paste. I haven’t used it in a while, and I had forgotten how fun it is and how much it can enhance your cards.
To make this card, I started with a piece of Balmy Blue cardstock, places one of the Pattern Party Decorative Masks over the top, and used my spatula to spread the embossing paste over it. A great tool to have when working with the embossing paste is the Silicon Craft Sheet.

I used the Above The Clouds Bundle to finish off the card.

This next card is what made me want to play with the paste in the first place. When I saw the cake in the Saleabration set Happy Birthday To You (did I mention it’s a FREE set!) I had the idea to “frost” it. And a bonus...there are Coordinating dies you can purchase! That’s how I created the mask to add the embossing paste. Then I stamped & die cut the flower piece and colored it with Stampin’ Blends.

I also used the does to cut the cake plate with Copper foil. I did have to alter it a bit since it is larger than the stamped image. I did a watercolor wash behind the image, and used the Country Floral Embossing folder on a piece of Pool Party cardstock. 
I am planning an Embossing Paste Class in April, watch for details! My family has ALOT to celebrate...my daughter is getting married in April, so my schedule is wide open right now. Y’all bear with me as I try to juggle working full-time, wedding planning, and just regular life! I will be sharing projects and Stampin’ Up! news as much as I can, but if something gets missed, I apologize in advance! I appreciate all of you so much, my card making hobby is truly what keeps me sane...although if you saw my craft room you would think it belongs to a crazy woman😂But I know exactly, we’ll, almost exactly, where everything is! 
Thanks for stopping by! If you would like to purchase any of the products used, click on the images below. Please use the current host code to earn Loyalty Rewards.
Love,
Nina


Product List

Friday, January 31, 2020

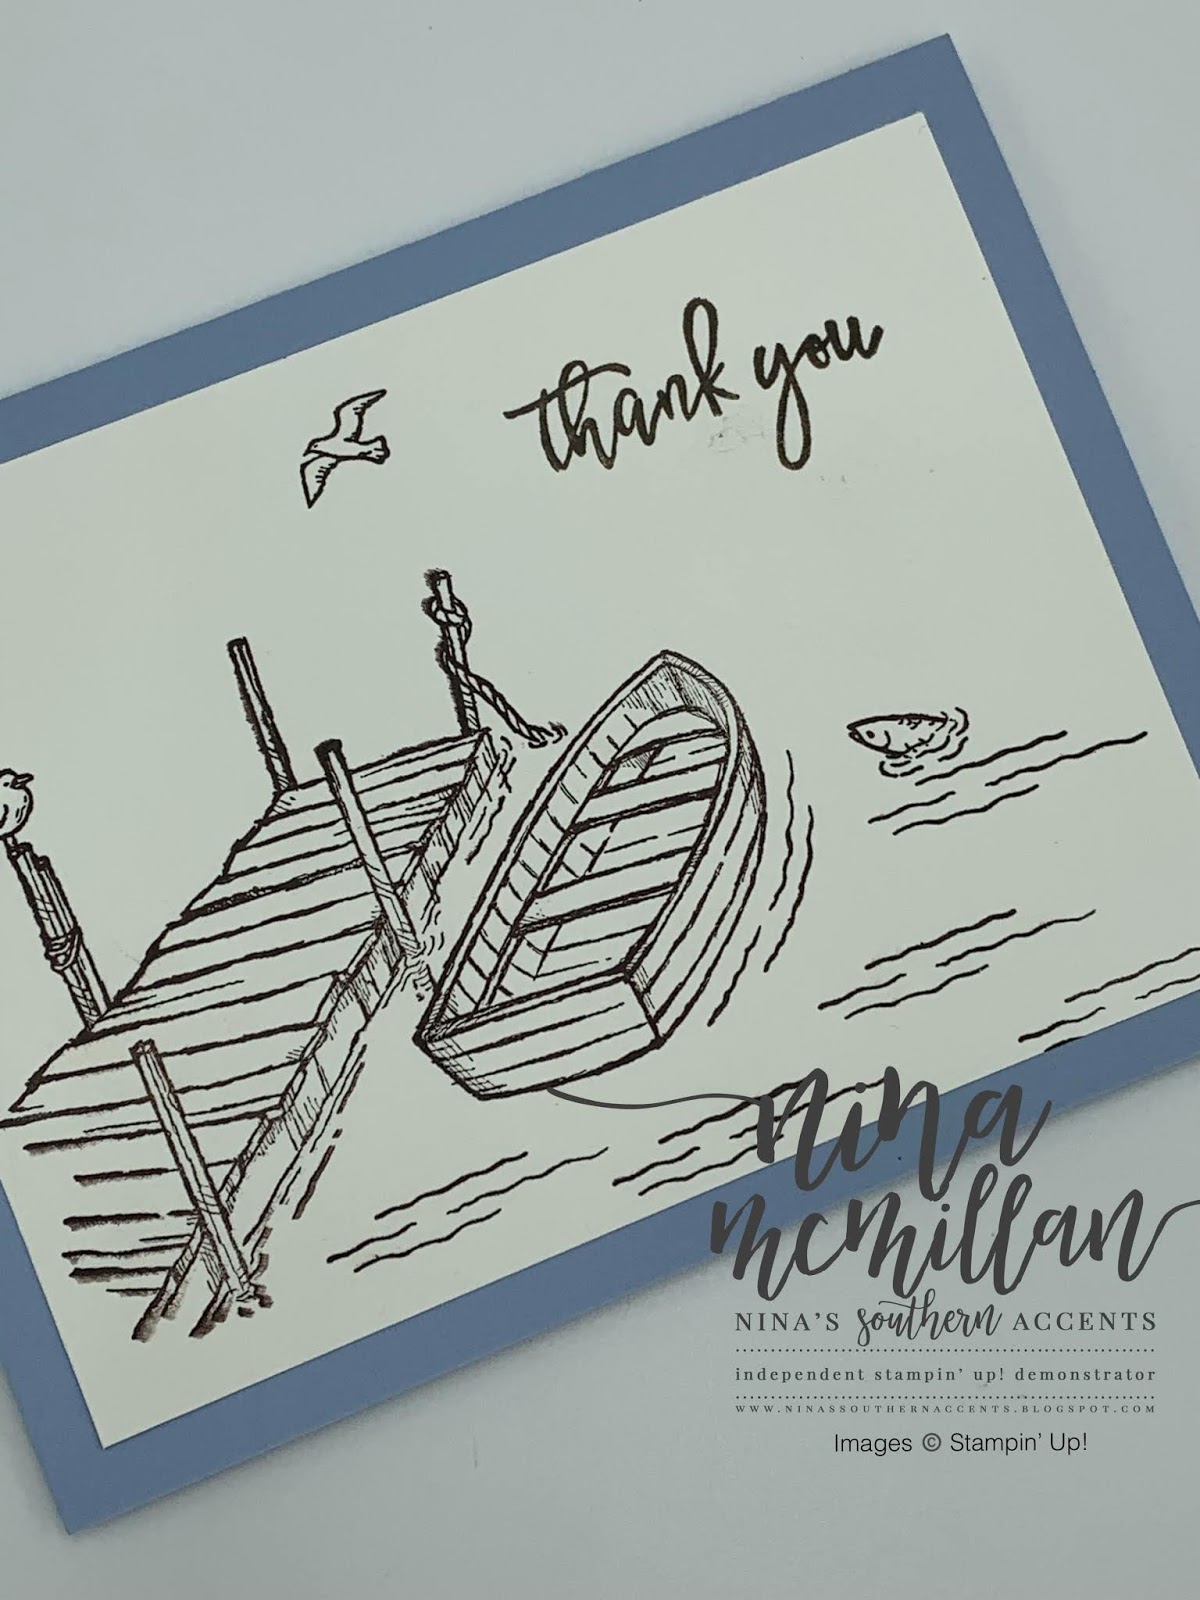
Make It In Minutes with By The Dock

Hey Y’all!
Here is another Make It In Minutes project. I just love doing these. This card uses just one ink color, actually it’s a #simplestamping project.  And the stamp set is one of my favorites from the new 2020 Mini Catalog.  It can be purchased as a bundle with coordinating dies, but today, I just used the stamp set.
I stamped the images in Early Espresso onto a 5 x 3-3/4 Whisper White panel.  I love that fish peeking out of the water!

The "Thank You" sentiment did come from the stamp set, I just didn't ink up the rest of the stamp.  To achieve this, I used my Stamparatus and the Early Espresso Stampin' Write Marker.  I inked up only the part of the sentiment I wanted, making sure to use the side, not the tip, of my marker.  I used the Stamparatus just in case I didn't get a good image the first time and needed to re-stamp.  I adhered the panel to a Seaside Spray card base ( 5-1/2 x 8-1/2, scored at 4-14).  I needed a masculine thank you card, and this turned out perfect!
If you would like to order any of the supplies I used, simply click on the images below to go to my online store.  I would very much appreciate your business.  Also, it's Saleabration time, so you can earn FREE products with qualifying purchases of $50 or $100.  Please use the current host code found in the right hand column.  I have a Loyalty Customer Reward program that let's you earn free product with your purchases.  
Thanks for stopping by today!  
Love,
Nina


Product List

Wednesday, January 22, 2020

DSP-Easiest Way To Make It In Minutes

Hey Y’all!
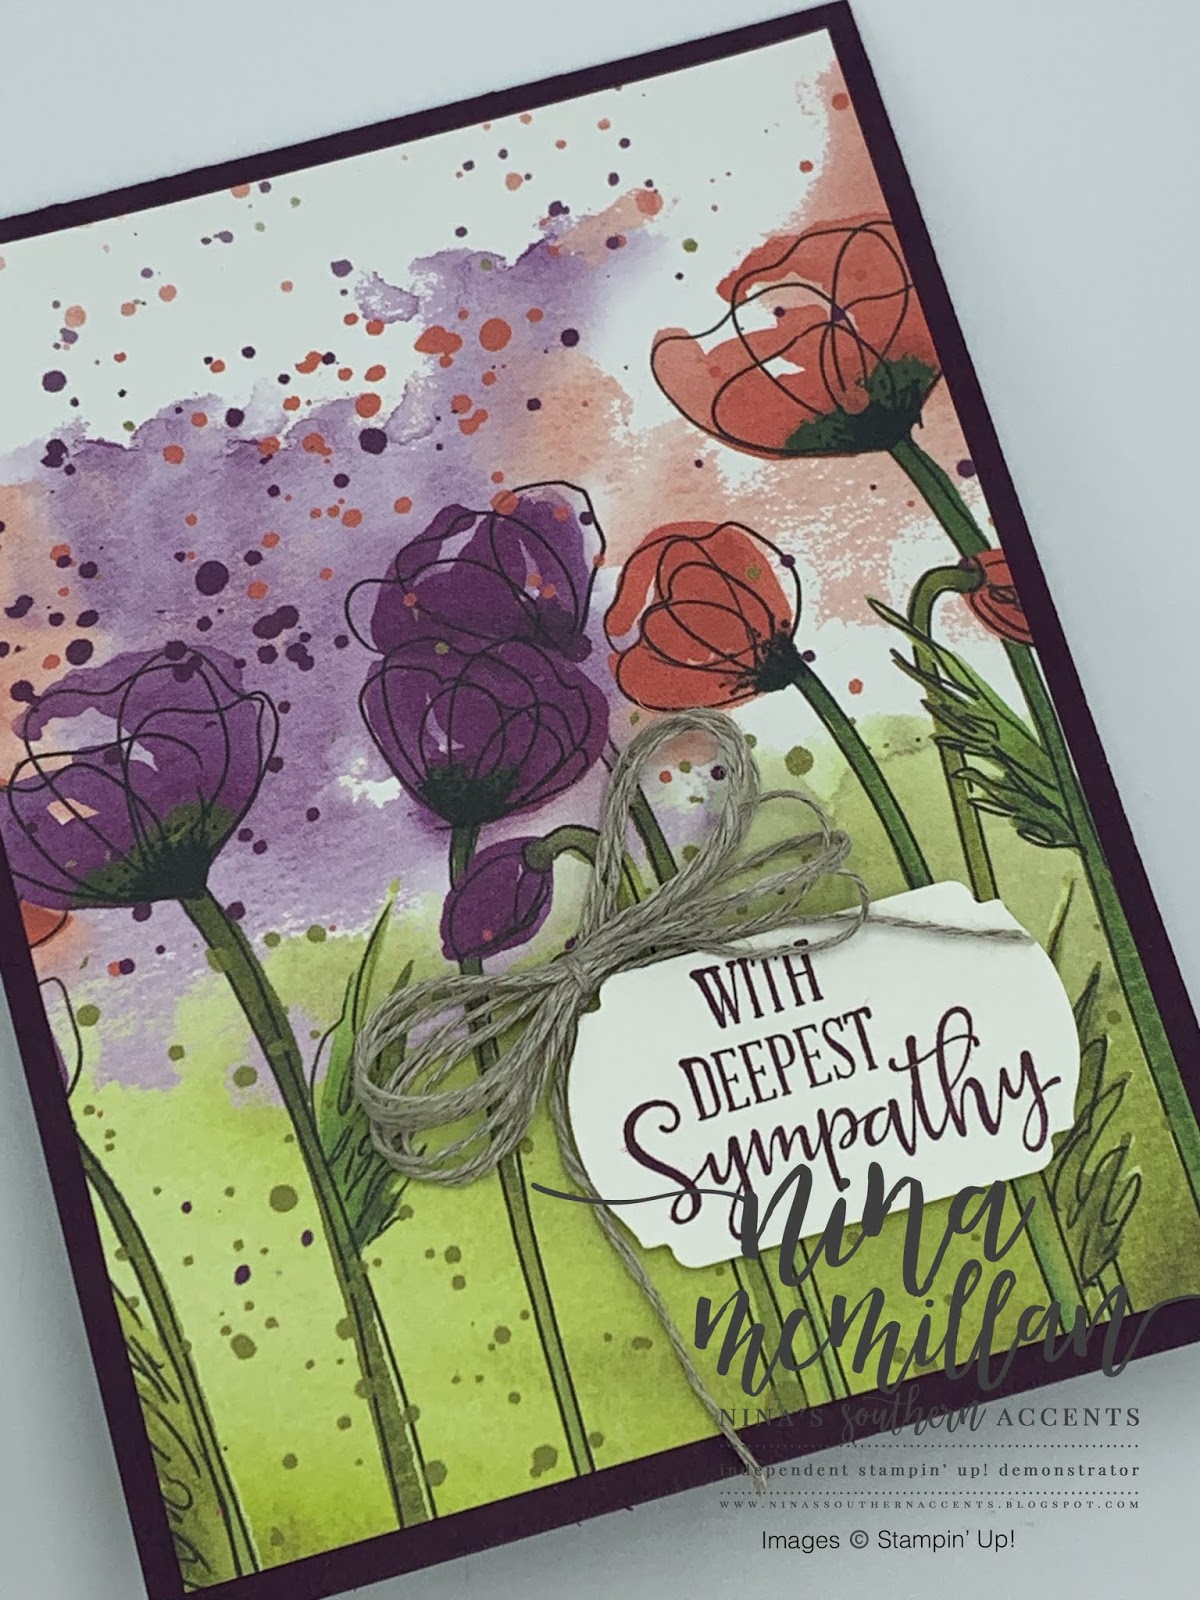
Today’s “Make It In Minutes” card is brought to you by the Peaceful Poppies DSP, some of the prettiest in the new Mini Catalog in my opinion.
There is one design that is perfect for easy card making. All you have to do is cut it down to 4 x 5-1/4 pieces (you will get 6 card fronts from 1 sheet), adhere it to a card base, add a sentiment, an embellishment if you like, and Boom! A completed card!

My embellishment on this card was a Linen Thread bow.

When you cut the 12x12 sheet down to 4x5-1/4, you are left with a 4x1-1/2 piece. I cut it down to 3/4, and it was perfect to embellish the inside of my card.  I added one of the elements that comes in the suite. Easy-peasy!

I stamped my sentiment, punched it out, and popped it up with dimensionals. You can’t go wrong with the Peaceful Poppies Suite! So many beautiful products, and so easy to use!  Now if I could just find a way to Blog in minutes! (Sigh) 
If you would like to order any of the products used, click on the images below to go to my online store. Please use the current host code to get Loyalty Reward Points. Also, Saleabration is happening now, you get free products with qualifying purchases. Every $50 gets you a Level 1, $100 gets you a Level 2!
Hope you have a great day, go make a card, send it, and bless someone!
Love,
Nina

Product List