

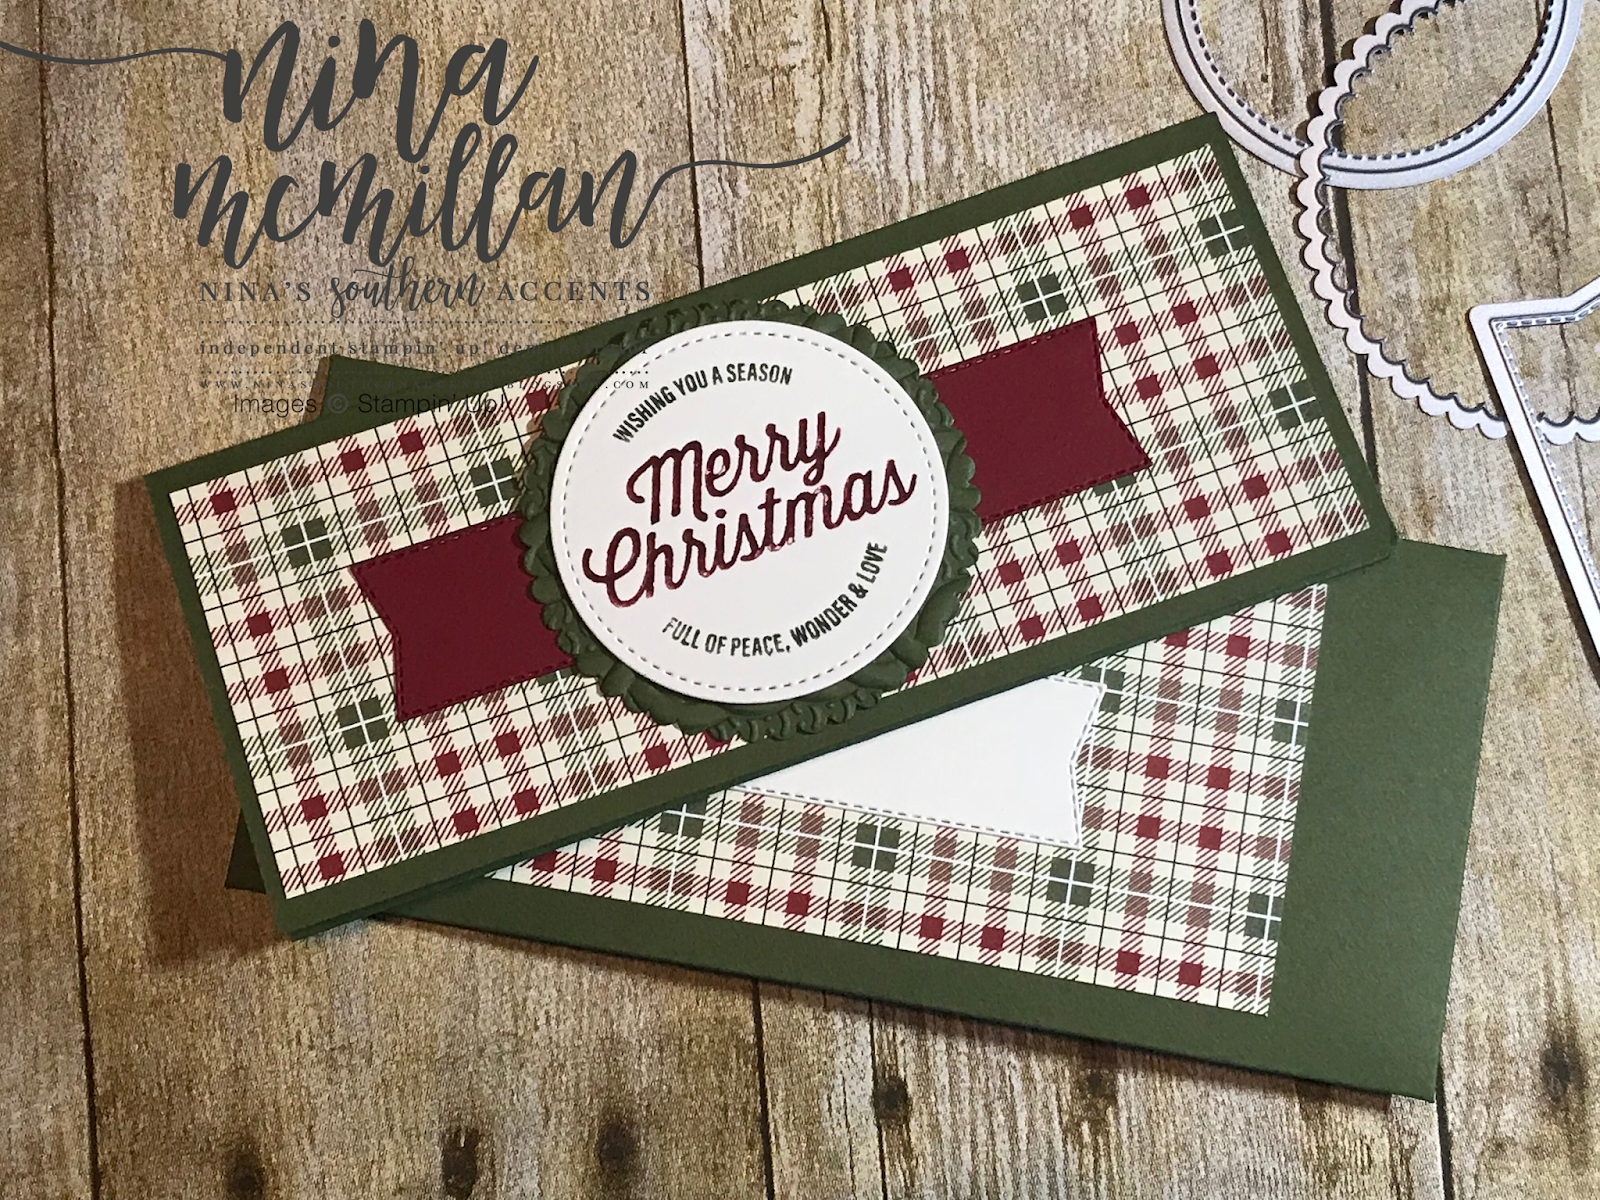
I'm excited for another hop with the Let's Get Hopping crew! You may have arrived from the lovely Teresa Brown's page, or if you are just starting with me, Welcome! We have a fun challenge this month--"Not Your Standard Card". It's already September, and Christmas will be here before you can say "Ho! Ho! Ho!" I've chosen to make a gift card/money holder, hopefully to get a head start on gifts.
Ok, back to the card
I used a new bundle from the 2018 Holiday Catalog, it went live today! The Farmhouse Christmas suite is one of my favorites in the new catalog! I made 2 different cards using the same layout, but different colors of the DSP (Designer Series Paper.)

The card base is 8-1/4" x 7", and you need to score on the 8-1/4" side at 3" and 6". Use the Envelope Punch Board to make the tab on the inside.

Line up the 7" side with score line closest to the top in the Envelope Punch Board and punch at 3-1/2". Then use a trimmer to cut away from the edge of the paper to the notch. Don't worry, I made a video to show you exactly how to do this! Fold both flaps inward, and use a strong adhesive like Tear and Tape to glue the bottom portion.

I added a strip of DSP to the bottom of the inside of the card, it measures 7" x 7/8".
I used my Stamparatus and Stampin' Write markers to ink up the sentiment. The Stamparatus gives you fool-proof stamping, and is perfect for this technique since sometimes the markers don't come out as dark as you like-you will see what I mean in the video.
The matching envelope was so easy to make with the star of the show today--the Envelope Punch Board. You just find the size card you need an envelope for, cut your paper to that size, then place your paper in at the measurement it gives you and punch and score! You only measure one time, after the first punch and score, you rotate your paper 90 degrees, and line up the score line with the score guide. This is why I did a video, folks, it's so much easier to show than explain! Have I made it clear as mud???
Another one of my favorites is the striped burlap ribbon, I added it to the second card. Watch the video to get some tips for organizing your DSP (I know some of you are laughing so hard right now that the word organizing appeared anywhere in one of my creations) and also a tip about stretching your die cuts. Here is the video I have been promising:
Now you get to hop on over to Mikaela Titheredge and see what she has in store, I know you will love it!

Thanks for stopping by! Do you love the Farmhouse suite as much as I do? Leave me a comment and tell me what is your favorite new product. There are so many more amazing products in the new catalog. If you don't have a Stampin' Up! demonstrator, and would like a copy, you can email me at ninamac32@hotmail.com with your name and address and I will be happy to mail you one. You can also click on the image to the right side of my blog to view online. If you are interested in purchasing any of the products below, just click on the item to go to my online store. If you place an order, please use the current host code found in the right column.
Remember to hit the subscribe button so you don't miss any of the fun!
Love,
Nina


